- Author Lauren Nevill [email protected].
- Public 2023-12-16 18:48.
- Last modified 2025-01-23 15:15.
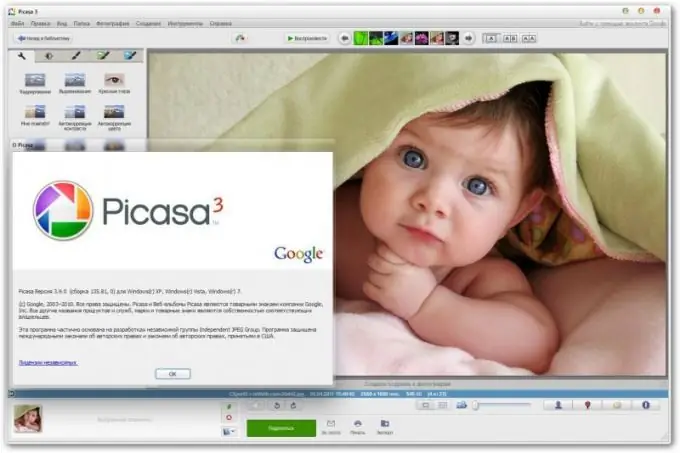
Picasa is an image processing software that is freely available for download. Picasa is easy to use and has a number of handy features for editing pictures and photos.

Instructions
Step 1
Upload images from your computer to the program library. This can be done immediately during the installation of the program, agreeing to import all images. If for some reason you did not want to do this at the installation stage, then use the "Import" button or go to the "File" menu and select the "Add folder" function. In the first case, you yourself choose the photos to add and you can set a unique name for the album in the program, in the second - just add the folder selected on your computer to the library.
Step 2
Use hot keys for general image enhancement. Select the image you need for processing in the program library and double-click on it with the left mouse button. The editing toolbar appears on the left. In order for your photo to become moderately bright, and the colors - the most natural, use the buttons "Auto Contrast" and "Auto Color Correction". As a rule, they instantly make the image noticeably better.
Step 3
To remove the red-eye effect, click on the "Red-eye" button. This function will help you to make your eyes look natural If you want to crop part of the image, use the Crop button. You can manually select the area that will remain after processing, or use the standard sizes and simply move the frame until you are satisfied with its position. To rotate the photo, use the rotation buttons below the image.
Step 4
Adjust color and lighting. To do this, go to the toolbar in the "Lighting and color correction" tab. You can manually edit the contrast, brightness and other color parameters of the image by moving the markers on the Equalizing Lightness, Lightness, Darkening, and Color Temperature scales.
Step 5
Use filters. The remaining three tabs on the toolbar are tabs with various kinds of filters, with which you can apply effects such as sepia, black and white tone, shine, graininess, shadow, etc. You can experiment as much as you like, undoing already superimposed effects and superimposing new ones.
Step 6
Save the image. To do this, use the keyboard shortcut Ctrl and S. If you want to save both the original image and the edited version, go to the "File" menu and click the "Save As …" button. If you want to resize the photo, use the Export button below the image. By clicking on it, you can select a folder to save, resize and configure other parameters of your photo.


