- Author Lauren Nevill [email protected].
- Public 2023-12-16 18:48.
- Last modified 2025-01-23 15:15.
Creating a personal website always includes uploading content to the site, equipping it with the necessary information, and accordingly, some novice webmasters face difficulties loading data. It is not difficult to place website pages on the Internet, especially if you are starting with free hosting. Choose a hosting that meets all the parameters of your requirements, and also prepare pages and files on your computer that you are going to upload to the server.

Instructions
Step 1
Register a second or third level domain and get the address of your personal page, familiarize yourself with the system's web interface, and then download and install the program for uploading files to the web server.
Step 2
Use the convenient CuteFTP Pro manager for this. The program allows you to quickly and efficiently upload pages to the site, and, due to its accessibility and speed, is used by a variety of webmasters.
Step 3
Open the program and select the New> FTP site subsection in the File menu and create a new FTP connection. A window will open in which you will see several tabs. Use only the first General tab for editing.
Step 4
In the General tab, edit the values of several parameters. Set the value to Normal under Login Metod; in the Label field, specify the name of the connection, which can be anything. In the Host Address field, enter the domain name of your site and the password of the following type: ftp://yoursite.hosting.ru:your [email protected], where hosting.ru is the address of your hosting in a third-level domain, and yoursite is the domain site name. Instead of the line "your password" enter the hosting password without spaces.
Step 5
In the User Name field, enter the name and domain of your site. In the Password field, enter the password again without spaces. Leave the comment line blank. Click OK to create the finished connection. Double click on the connection name to launch it and connect the program to the server.
Step 6
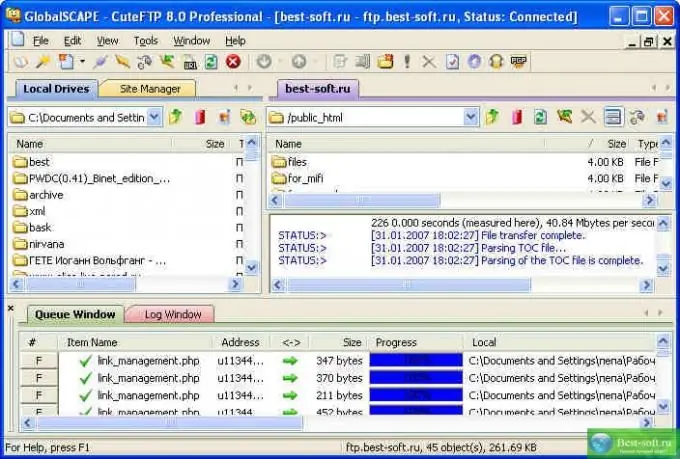
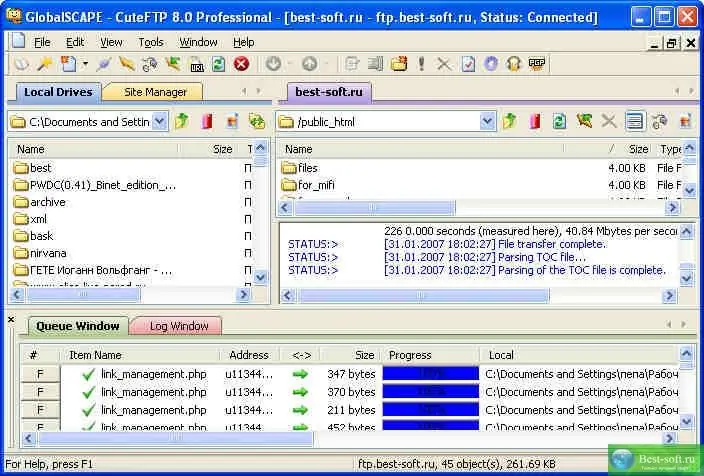
When the connection is established, pay attention to two parts of the program window - in the upper part all files and folders available on the server will be displayed, and in the lower part you will see information about downloading new files.
Step 7
When you connect to the server for the first time, you will see an empty root folder for your site. Copy the prepared files and pages of your site on your computer, and then paste it into the CuteFTP Pro window. Wait until the end of uploading files to the server.


