- Author Lauren Nevill nevill@internetdaybook.com.
- Public 2023-12-16 18:48.
- Last modified 2025-01-23 15:15.
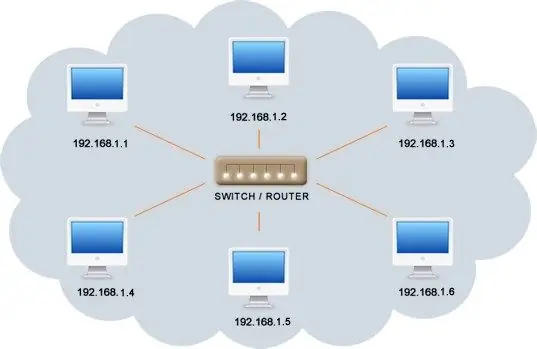
The local network allows you to organize the workspace in the enterprise. Thanks to such a network, all users on the local network will have access to the Internet.

Necessary
Several personal computers (at least 2), installed operating system, Ethernet network cable (twisted pair)
Instructions
Step 1
First of all, you need to make sure that a password is set on your personal computers (on accounts). In the event that you do not have it, then you must definitely put it. Otherwise, you can have many different security problems. You can set a password as follows: "Start" panel, "Control Panel" opens. Then in this panel you need to find the fields: "User accounts" and select the item "Change your password".
Step 2
It is imperative to give all computers their own names. In order to assign a name to a personal computer, you need to find the "My Computer" icon and right-click on it. In the context menu that appears, select "Properties". Next, you need to find the "Advanced system settings" tab, where there is a "Computer name" field. This field is subject to mandatory changes. In the corresponding line, as a computer name, you must enter PC1 (on other computers PC2, PC3, etc.). After the name is assigned to the computer, you need to check the box that the computer is a member of the workgroup and enter WORKGROUP there. Then restart your computer.
Step 3
Once the computers have been named, you must also assign an IP address (to each computer). In order to do this, you need to find the "Network and Sharing Center" in the "Control Panel". Further, in the "Changes to adapter parameters" tab, select the local network (should not be marked with a red cross). By clicking the right mouse button, you need to go to "Properties". The following fields are specified here: "Internet Protocol Version 4" and "Use the following IP address". In the IP address field, enter 192.168.0.26.
Step 4
Once the IP addresses and names have been assigned, you can begin to test communications between computers. This point is no less important, since it is after checking the connection between the computers that you can understand whether the local network is working. The check can be done by entering the cmd command, which is written in the "Run" line. After the command line opens, you will need to enter the ping 132.168.0.26 command in the window and then press the Enter key. If a response is received from the first computer, it means that there is a connection between the two computers. Checking must be done with other computers that will be on the same local network. If a response is received from each computer, then you can get to work. Otherwise, you need to search for an error.


