- Author Lauren Nevill [email protected].
- Public 2023-12-16 18:48.
- Last modified 2025-01-23 15:15.
The creation of a website consists of several important stages, and if most of these stages take place offline, when the site is being developed, its design layout is formed, the content of the site is programmed; then the last and most important point in creating a website is uploading it to the server of your chosen hosting. To upload a site to the server, use the FTP interface, through which you can upload to the server all site files stored on your computer - both graphic elements, databases, and style sheets.

Instructions
Step 1
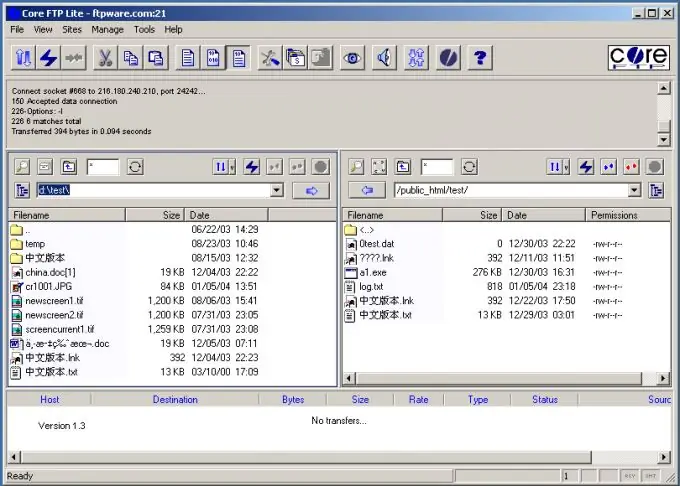
Use any FTP-client convenient for you to place files. Write down your username and password for access to FTP - this data should be sent to you from the hosting. All site files must be uploaded to the root folder of the FTP directory.
Step 2
If you are setting up a connection to a server using Total Commander, start the program and select the "Network" and "Connect to FTP server" option from the menu. Click the "Add" button and enter the name of your site in the field that appears, enter the domain name in the "Server" field, enter your username in the "Account" field, and enter your FTP password in the "Password" field.
Step 3
Check the box "Passive mode", and if you use a proxy server, mark it in the settings. Place the site files in the "your domainwww" folder by copying them from the folder on the computer where they were stored.
Step 4
To connect to the server through the CuteFTP program, start the program and select create a new connection (Ctrl + N). Using your credentials, enter them in the window that appears in the appropriate fields.
Step 5
After entering all the data, click "Connect". Copy the files to the server.
Step 6
After the site is fully loaded, you can add a database to the site through the hosting web interface by clicking the appropriate button.


