- Author Lauren Nevill [email protected].
- Public 2023-12-16 18:48.
- Last modified 2025-01-23 15:15.
Wiki markup is used today not only on Wikipedia, but also on Wikia hosting, as well as on numerous sites using MediaWiki-compatible "engines". This markup language has several advantages over HTML.

Instructions
Step 1
Please note that most Wiki "engines" do not exclude the use of HTML tags. If you don't know how to do something with Wiki tags, try doing the same using plain HTML. Many tags will work unchanged. However, some of them, such as those intended for inserting scripts and applets, may not be recognized for security reasons. Some wikis have bots that then automatically convert the HTML tags they find on the page into wiki tags that are similar in functionality.
Step 2
To insert a link into a page to another page within the same wiki project, use the tag:
[Page Title]
You can write the title of the page with both capital and small letters. But in all subsequent letters, you will have to respect the case. You can also link to a page with one title, and make the link text different:
[Page Title | Link Text]
Finally, you can move some of the text outside the tag:
There were two yellow electros on the table.
Step 3
To add a link to a third-party resource (even to another project on the same hosting) to the page, use the construction:
[https://domainn.ame Link text]
Step 4
In order to insert an image into the page, first place it on the same hosting. Unlike regular hosting, wiki hosting does not allow the insertion of images stored on third-party resources. Then insert it using this construction:
[File: Imagename.jpg
If you omit the word thumb, the picture will be shown in full size. If you replace it with the nnnpx directive, where nnn is a number, the picture will be forcibly reduced to the corresponding number of pixels horizontally.
Step 5
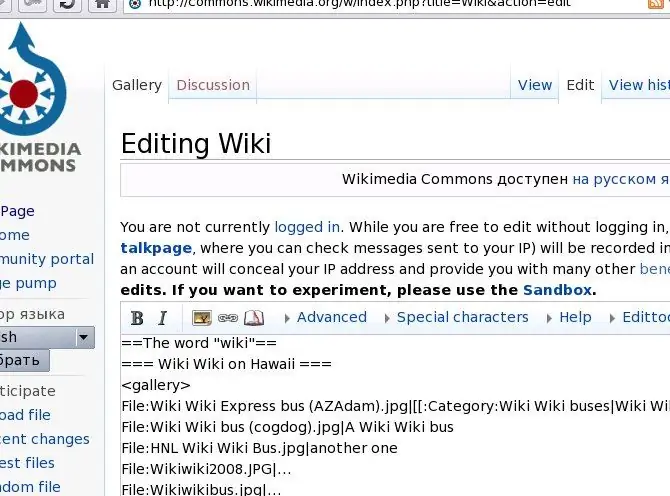
To insert a whole set of thumbnails into the page, use another, simpler construction:
File: Imagename1.jpg
File: Imagename2.jpg
……..
File: imagenanen.jpg


