- Author Lauren Nevill nevill@internetdaybook.com.
- Public 2023-12-16 18:48.
- Last modified 2025-01-23 15:15.
Looking at the abundance of PSD templates on the Internet, you might be tempted to create something like this yourself. Moreover, this is not very difficult to do. Enough at hand Adobe Photoshop.

Necessary
Adobe Photoshop program
Instructions
Step 1
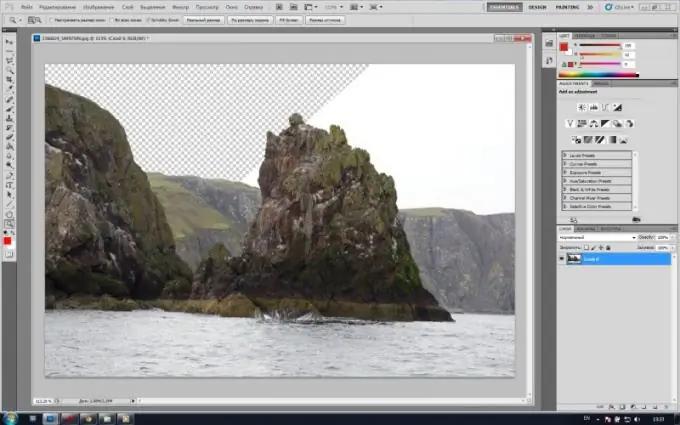
Launch Adobe Photoshop, and in it, open the photo on the basis of which you want to make a template. Click the main menu item "File"> "Open" or use the hot keys Ctrl + O, in the next window specify the path to the desired file and click "Open". The photo will appear in the workspace of the program.
Step 2
In the list of layers (if it is not there, press F7), right-click on the background layer, in the menu that appears, click "Layer from background", and in the next window, immediately click the OK button. The background will turn into a layer.
Step 3
Determine where you want to cut out in the photo. Take the Zoom tool (hotkey Z) and zoom in to this place for convenience. Select the Pen tool (hotkey P, switch between adjacent elements Shift + P). It may take a little longer to learn than the others, but it will pay off because it is very convenient and versatile.
Step 4
Use the History window (Window> History) to go back a few steps. In the future, you may need this functionality, since mastering new tools (in this case, the "Pen"), as a rule, entails some errors and inaccuracies in the work.
Step 5
Determine by eye such a segment of the cut out contour that has no bends or has, but at most one. Use the Pen tool to draw a point at one of the ends of this line. Then put another point at the other end of the line segment and do not release the left mouse button. Move the mouse slightly to either side. As you can see, the segment between the two points began to bend. Using this, make the line segment follow the curve of the path you cut out.
Step 6
Continuing further along the contour, make another point. And also, without lifting the left mouse button, give the created segment the necessary bend. It may happen that the straight line that appears as a result of creating a bend is too long. Consequently, the bend of the next segment may not turn out as needed. To fix this, use the Convert point tool. If you put a point in the wrong place, you can fix it: hold down Ctrl and the left mouse button on this point, and then move it to the desired place.
Step 7
Close the path and right-click on it. In the menu that appears, click "Make selection", and next set "0" in the setting "Feather radius" and click OK. The path turns into a selection. Press the Delete key. The template is ready. To save it, click the menu item "File"> "Save as" or press the hotkeys Ctrl + Shift + S, specify the path for the file, in the field "Files of type" (Format), then enter PSD and click the "Save" button.


