- Author Lauren Nevill [email protected].
- Public 2024-01-11 01:05.
- Last modified 2025-01-23 15:15.
It is not easy to create an interesting print in Stardall, because it is created by using various geometric shapes, but it is still possible. In this article, I'll show you how to sew a cute cloud sweatshirt.
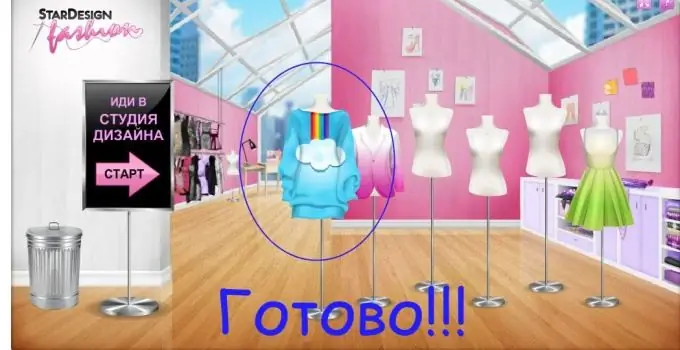
Necessary
- - Your Stardoll account
- - Section "Design and Sell"
Instructions
Step 1
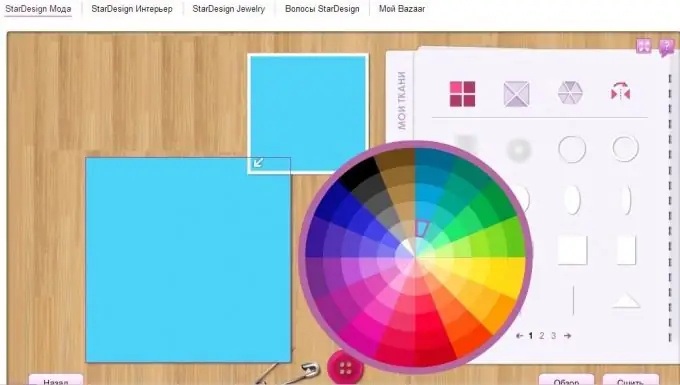
From the menu, select the Create New Fabric button. You can make it any color you like, but I advise you to take blue. Light blue or bright doesn't matter. It's just that against such a background, our print will look much better.
Step 2
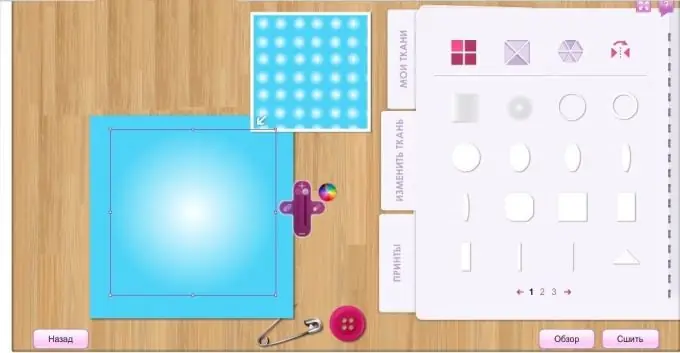
Select the "round gradient" shape and, making it white, place it on the fabric. Stretch it almost over the entire square, but do not drive over the edges.
Step 3
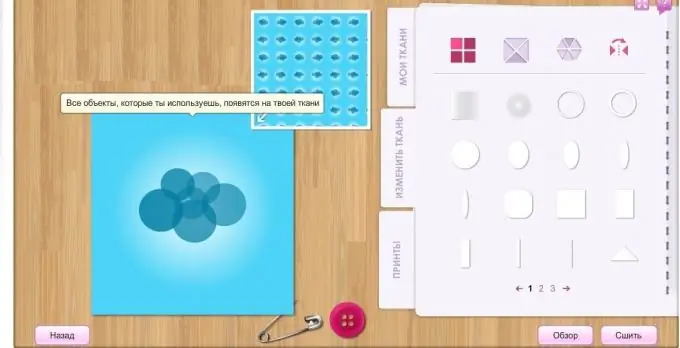
Now create a cloud shape from the circles. Choose a darker shade of blue and increase the opacity.
Step 4
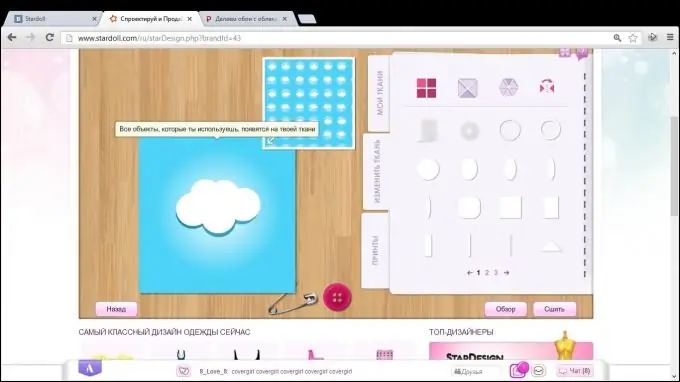
Again compose the same cloud from the circles, but move it up a little and choose white without increasing the transparency.
Step 5
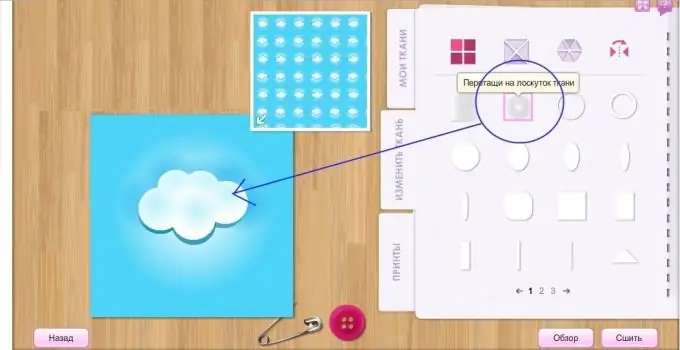
Use the "circle gradient" to create a shadow behind and on the white cloud.
Step 6
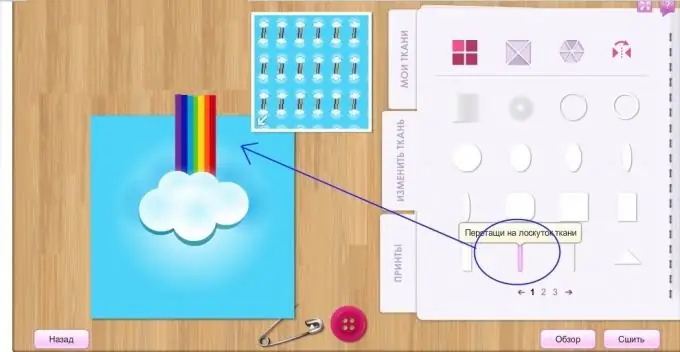
Using rectangles create a rainbow and place it behind the white cloud. Don't be afraid to drive over the edges.
Step 7
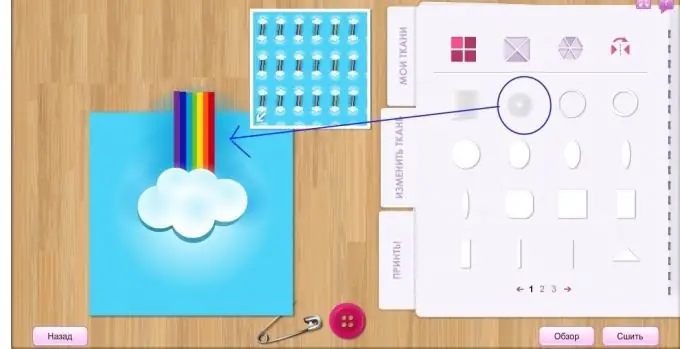
Create a shadow behind the rainbow using a circular gradient. The fabric is ready.
Step 8
In the section with patterns, select a pattern for the sweatshirt and place it on the fabric so that the rainbow is on the collar.


