- Author Lauren Nevill nevill@internetdaybook.com.
- Public 2023-12-16 18:48.
- Last modified 2025-01-23 15:15.
Creating your own website is an important step in human development and a profitable move for a young company. The most important attributes of any site are information content, ease of navigation and design. One of the most significant design details, in turn, is the colorful and original banner.

It is necessary
Raster graphics editor Adobe Photoshop
Instructions
Step 1
First you need to decide on the banner size. Most often, banners occupy the entire (or almost the entire width) of the site and have a small height. Therefore, at the beginning you need to find out the width of your site (this can be done both by means of html and by the DreamWeaver program, which is used to develop sites) and determine the height of your banner.
Step 2
Create a new document in Adobe Photoshop (the version does not play a significant role in this case). Set the width and height of the new document in pixels. It is preferable to use the background white or black, so that it does not distract you from the process of creating the banner. Then you can replace it with a more interesting color (which is selected a little lighter, or vice versa, darker than the main background of the site). When the dimensions and background are selected, we can click "OK" and start creating an interesting banner.
Step 3
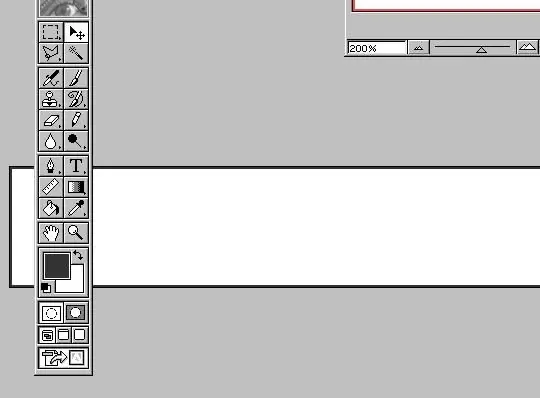
As a rule, a banner consists of graphic information - a series of small pictures and text (which contains in a few words the most important information - about what and for whom this web resource is). In order to place small pictures on the banner, open the original images or ready-made cliparts in separate windows and drag them onto the banner using the "lasso" tool, with which we select the object. You need to use the keyboard shortcut CTRL + C to copy the picture. Next, we make the banner window active by clicking on it, press CTRL + V - and the desired graphic object is placed on the banner.
Step 4
Adding textual information is much easier. We use the "text" tool (the icon is a capital letter "T"), and on the active window for creating a banner, type the necessary words. You can change the color of the text using the "Text" attribute panel, you can also use the "Eyedropper" tool to select the desired color from the elements of the banner.


