- Author Lauren Nevill nevill@internetdaybook.com.
- Public 2023-12-16 18:48.
- Last modified 2025-01-23 15:15.
One of the many nice features of Windows operating systems is that they have a built-in program that implements a full-fledged help system. This application displays documentation pages packed in a file of a special format (as a rule, these files have the hlp extension). Thus, when programming under Windows, there is no need to worry about implementing a help system for your program. It is enough just to compile the help file.

Necessary
- - Microsoft Help Workshop.
- - files of help articles in RTF format;
- - images for help in BMP format.
Instructions
Step 1
Create a new project in Microsoft Help Workshop. In the main application menu, select the "File" and "New …" items, or use the keyboard shortcut Ctrl + N. The "New" dialog will be displayed. In the only list of this dialog, select the "Help Project" item. Click the "OK" button. The file save dialog will be displayed. Change it to the directory where the project files will be located. Enter a name for the project file. Click the "Save" button.
Step 2
Add RTF files to the project, the content of which will be displayed on the help pages. Files can be prepared in Microsoft Office Word or Open Office Writer. In the project window, click the "Files …" button. The "Topic Files" dialog will appear. Click the "Add …" button in it. In the dialog that appears, select an RTF file. Click the "Open" button. Repeat this operation for the required number of files. Click the "OK" button.
Step 3
Add images to the project for use in Help. Click the "Bitmaps …" button in the project window. The "Bitmap Folders" dialog will appear. Click the "Add …" button in it. A folder selection dialog will appear. Find and select in the directory tree the directory where the BMP images are located. Click the "OK" button. Repeat this step for the required number of directories. Click "OK" in the "Bitmap Folders" dialog.
Step 4
Create a map to map help article IDs to numeric values. Click the "Map …" button. In the displayed "Map" dialog, click "Add …". Enter the article ID, numeric value, and comment. Click the "OK" button. Repeat for as many Help articles as needed. Click the "OK" button.
Step 5
Add a set of article ID synonyms. Click the "Alias …" button. In the "Topic ID Alias" dialog, click the "Add …" button. In the "Add Alias" dialog enter the original identifier, the identifier to be used instead of the original, and a comment. Click OK. Repeat for as many Help Article IDs as needed. Click the "OK" button.
Step 6
Add data files to the project that will be included in the resulting help file. Click the "Data Files …" button. In the dialog that appears, click the "Add …" button. Select the file you want. Click the "Open" button. Repeat this step for the required number of files. Click OK.
Step 7
Set project options. Click on the "Options …" button. In the "Options" dialog that appears on the "General" tab, enter the id of the start page of the help and the title of the window. On the Compression tab, specify the degree of data compression during compilation. Switch to the "Sorting" tab and select the language of the help file. On the Fonts tab, select your preferred character set and fonts used in the help dialog boxes. Click the "OK" button.
Step 8
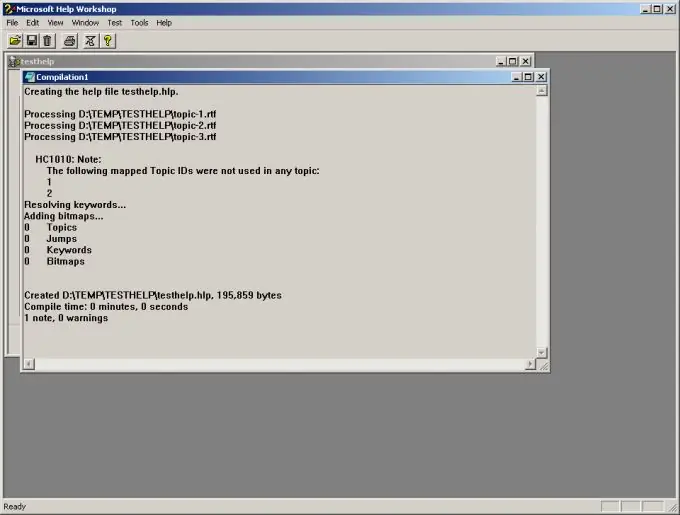
Compile the help file. In the project window, click the "Save and Compile" button. Wait for the compilation process to finish. A window with statistical information will be displayed in the workspace of the application. Make sure there are no errors. The resulting help file will be located in the project directory selected when it was created.


