- Author Lauren Nevill [email protected].
- Public 2023-12-16 18:48.
- Last modified 2025-01-23 15:15.
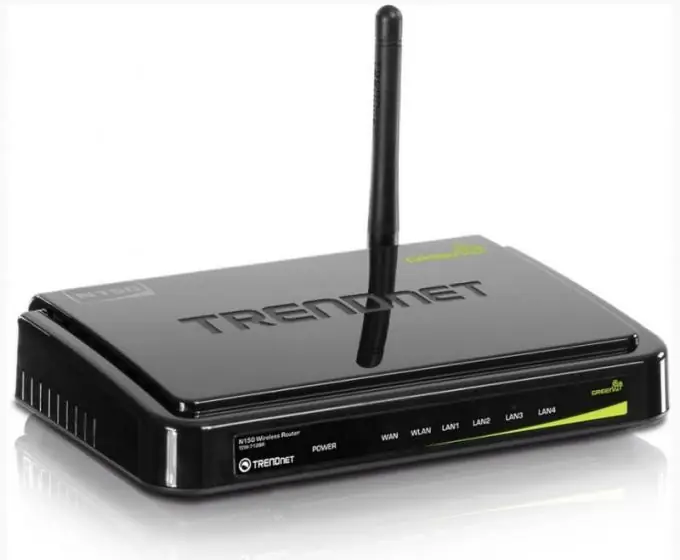
The access point of modern Wi-Fi connections is a router that converts the signal from an Ethernet wire into a wireless one. Wi-Fi is configured using this wireless router and one of the devices that supports data transmission over the communication channel.

Necessary
A router for a wireless network
Instructions
Step 1
Connect the router to an internet cable and electrical network. Wait until the device starts up and the corresponding icon on its diode panel. If the light of the port to which the cable was connected is on, then the device is functioning and you can continue setting up the Internet.
Step 2
Connect the router to your computer via a wire or immediately configure it using a wireless channel. In the first case, you will need to plug the cable that came with the device into the corresponding slot on the computer. After that go to "Network and Sharing Center" - "Manage adapter settings". You can use this section by selecting the "Start" - "Control Panel" menu or by clicking on the network icon with the left mouse button in the lower right corner of Windows.
Step 3
Right-click on the "Wireless" icon and select "Properties". Among the listed items on the "General" tab, select the line "Internet Protocol IP v4" and click on the "Properties" button. In the appropriate blocks, select automatic settings, then click "OK" and restart your computer.
Step 4
To connect to the router interface directly via a wireless network, in the list of available Wi-Fi nodes in the system window, select the name of the adapter, click "Connect".
Step 5
Open a browser window and enter the request 192.168.0.1. You will need to provide a username and password to access the setup program. Enter the required data, which may be indicated in the instructions for use.
Step 6
Guided by the documentation that comes in one set with the router, as well as using the data that the provider provided you when connecting to the Internet, configure the router by navigating through the various menu items of the pages in the browser. Do not forget to save the entered data.
Step 7
After making the settings, you will need to reboot the router. This can be done by using the appropriate menu item on the control panel. After rebooting, try to log in to any of the Internet resources. In case all settings are correct, you will be connected to the network.


