- Author Lauren Nevill nevill@internetdaybook.com.
- Public 2023-12-16 18:48.
- Last modified 2025-01-23 15:15.
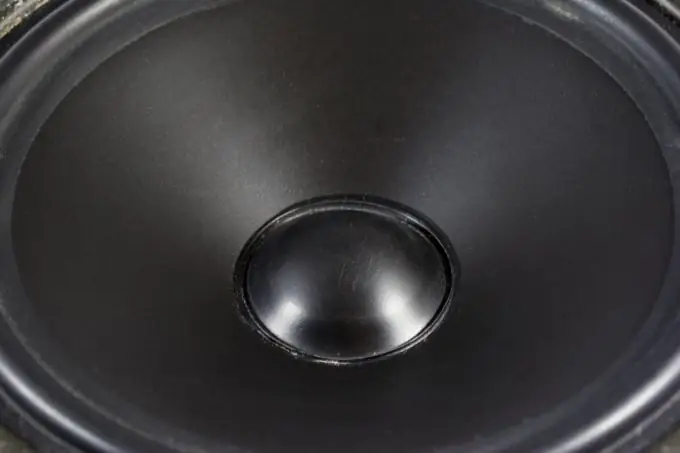
Dust inside a speaker can significantly degrade its sound quality. When it is covered with dirt on the outside, its appearance deteriorates. If you clean the speaker, it will both look and sound like new.

Instructions
Step 1
Unplug the amplifier or other device to which the speaker is connected. Find two terminals on the back of the speaker: black and red. Please note that a conductor with a label is attached to one of them - remember which one. Slide the levers and pull the wires out of the terminals.
Step 2
Use a lint-free cloth lightly dampened with soapy water to clean the outside of the column. Do not let water get inside the speaker. You can also use alcohol (not on any surfaces - it spoils some), but never acetone, gasoline, hydrogen peroxide, etc. Also, paper cannot be used instead of fabric - traces of the fibers included in its composition will remain. Allow the surface to dry completely after cleaning.
Step 3
To open the column and clean it from the inside, first remove the grate from it. Sometimes it is enough to just pull it, sometimes you need to unscrew a few screws. Use a fan to remove dust from the inside of the grate, and do the same with the space under the grate. Use a vacuum cleaner, even if it is low-powered, with great care - it can damage the speaker diffusers, protective fabric. If there are no dust caps on the diffusers (this is very rare today), blow out the gaps between the magnets and the coil frames with a rubber bulb.
Step 4
Now find the screws that hold the speaker cover in place. They can be located both in the front, under the grill, and in the back. Turn them out, remove the cover without damaging the wires, blow through the speaker with a fan from the inside, then close. To avoid dust entering the lungs, do not bend over the treatment area or use a respirator.
Step 5
Reassemble the speaker system in reverse order, then pull back the terminals and connect the wires to them in the correct polarity. Release the terminals and they will lock. Check the operation of the column.


