- Author Lauren Nevill [email protected].
- Public 2023-12-16 18:48.
- Last modified 2025-01-23 15:15.
Anyone with an iPhone or Mac is familiar with the iCloud data sync service. Undoubtedly, it is an indispensable option for storing backup data and files of your phone and computer. At the same time, the service offers its users free storage space. However, by default, this tariff plan is too small, which often leads to the problem of clogging up the storage with unnecessary files.

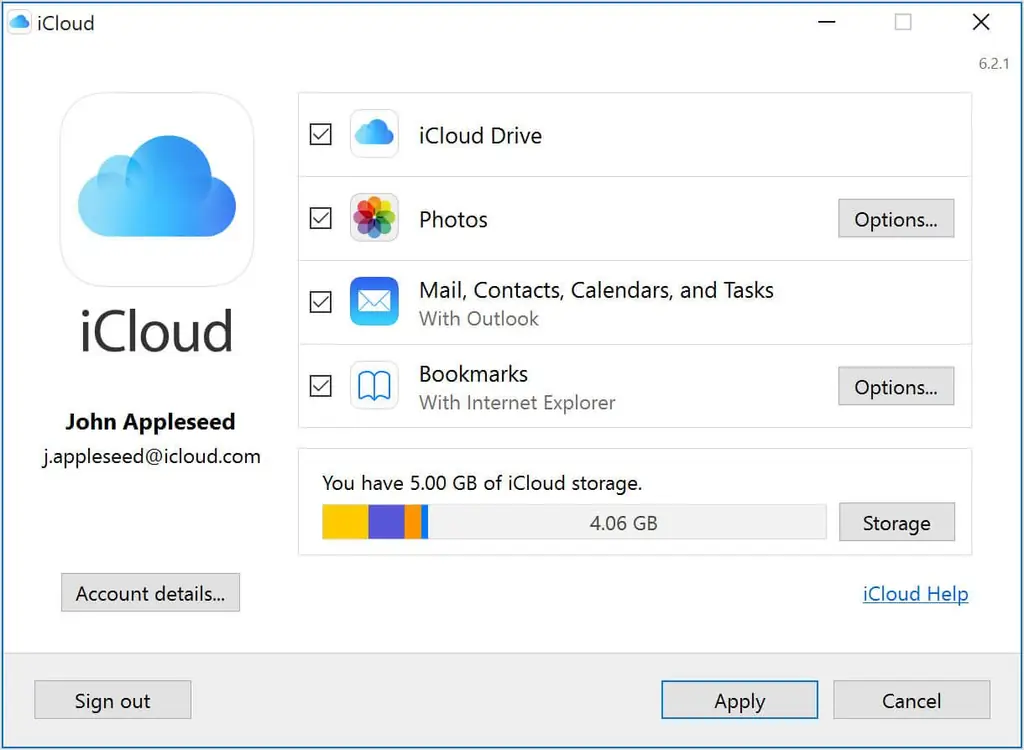
iCloud is a great way to sync your apps and keep the files you want available on any device. But the free account only has 5 GB of free disk space by default, which is hardly enough even for backups. This is why, at some point, you've probably come across “iCloud storage nearly full” or “Not enough storage” warnings and wondered what to do.
Both warnings mean the same thing: you have run out of available space or have reached the limit of your paid plan. It may seem that at the moment you have only one option - to upgrade the plan, but this is not entirely true. Let's try to figure out how to clear the icloud storage.
How to clear iCloud storage
If you sync data to both iPhone and Mac with iCloud, storage will fill up quickly unless you learn to use it more intelligently. Let's walk through step by step how to free up iCloud storage and clean it up regularly in the future.
Step 1. Delete unwanted photos from your phone
If iCloud Photo Library is enabled on your iPhone, all your selfies are automatically synced to the cloud. In general, each individual photo does not take up much space. But if you take three or four shots every time until you get the one you like, or you take pictures of every note, schedules, schedules and so on, then all this accumulates in storage.
One way to clear out this pile of junk is to walk around the library and manually clean out unwanted photos. Another faster way is to download Gemini photos. This iPhone app streamlines the process by finding similar photos, low quality shots and screenshots, and then you just need to hit "Delete".

With iCloud Photo Library turned on, the photos you delete on your iPhone will also be deleted from the cloud, so you can easily free up iCloud space. The app is free to download, so you should definitely test it out on your iPhone.
Step 2. Find old files on iCloud Drive
Starting with macOS Sierra, the system automatically saves old files - such as movies you watch - to iCloud. It helps you save memory on Mac. But the problem is that these files still take up a lot of space, only now they are in your iCloud. In order to see the contents of the repository and understand what can be deleted, do the following:
- Go to your account on iCloud.com
- Select iCloud Drive
- Browse your files and select the ones you don't need
- Delete them
Done. If you're using macOS High Sierra, iCloud Drive is available as a folder in the Finder, so you can follow the same steps on your Mac.
Step 3. Delete unnecessary iCloud email
If you use iCloud email (the one that ends with @ icloud.com), all the emails you receive are stored, you guessed it, in iCloud. While the emails themselves don't weigh that much, attachments can be a nuisance for you. PDFs, photos, and other files that people have sent you over the course of several months can be up to several gigabytes, so take a look at the old correspondence and do a little cleaning up.
Step 4. Delete old backups
Regular automatic iPhone backups are a great way to keep your data safe and sound in case something happens to your phone. But the only backup that will be needed in this case is the most recent, so there is no reason to keep backups saved several months ago.
Here's how to access all your device backups and remove outdated versions:
- On your Mac go to System Preferences - iCloud
- Click "Manage" and then "Backup"
- Select the backup file you want to delete and click Delete.
The final stage. Empty all baskets

It's easy to forget that as long as files remain in the Trash (or in the Recently Deleted folder for photos), they still take up space, whether it's in the cloud or local storage. So after you are done with steps 1-3, be sure to empty out the trash.
How to do it on iPhone:
• Open photos
• Go to the album you recently deleted
• Select "Delete All"
In the Mail app on Mac:
- Start mail
- Click on the mailbox in the top menu
- Select "Remove Deleted Items" from the dropdown menu
- Choose your iCloud email address
In the Mail app for iPhone:
- Open the app
- Click "Cart"
- Click Change and then Delete All.
Steps like this will clear your iCloud storage, at least for now. Repeat these steps every 1 to 2 weeks to make sure your icloud is no longer clogged.
How to prevent iCloud from overflowing

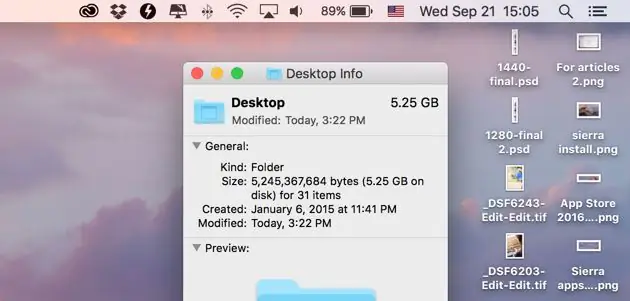
It's safe to say that the top two reasons your icloud storage needs to be cleaned up all the time are photos that sync from your iPhone, and large files from the Documents and Desktop folders on a Mac. Using Gemini Photos should keep your photo library in good shape, but you should also prevent your desktop documents and files from growing too much.
To free up space and quickly delete large files, try CleanMyMac X. Among many other useful tools, it has a Large and Old Files module, which is exactly what you need for this job. Do the following:
- Download CleanMyMac X
- Select "Large and Old Files" in the left pane
- Click "Scan"
When the scan is complete (it usually takes a few seconds), click View Files.
All files that the application considers large and old are neatly grouped by size. You only need to mark the ones that you no longer need and click "Delete".
By default, Mac has much more memory than 5GB, so many users choose not to sync and store files locally. Here's how to turn off syncing between the Desktop and Documents folders and some Mac applications:
- Go to System Preferences
- Click iCloud
- Disable all folders and apps that you don't want to sync
Here's how to prevent your iPhone data (including photos) from syncing with iCloud:
- Go to settings
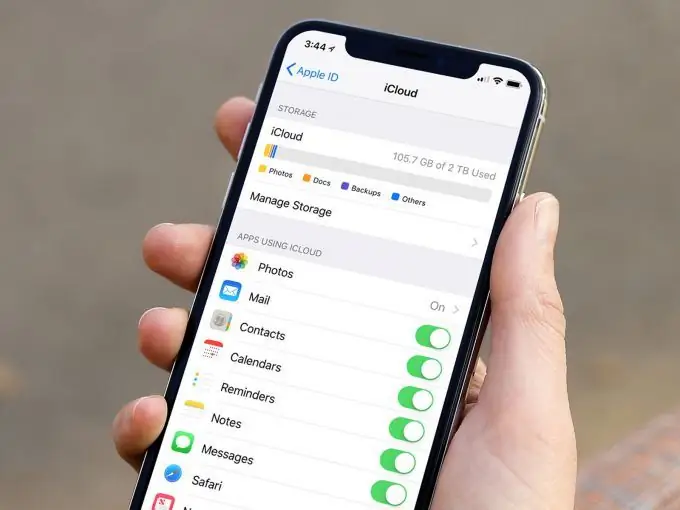
- Tap iCloud (or your name and then iCloud if you're using iOS 10.3 or later)
- Review the list of apps that are syncing and turn off syncing.
Now your data on your Mac and iPhone will be stored locally.
How to buy more iCloud storage

This is the obvious way to go, as long as you're not too tight on your budget and don't mind spending money on storage every month.
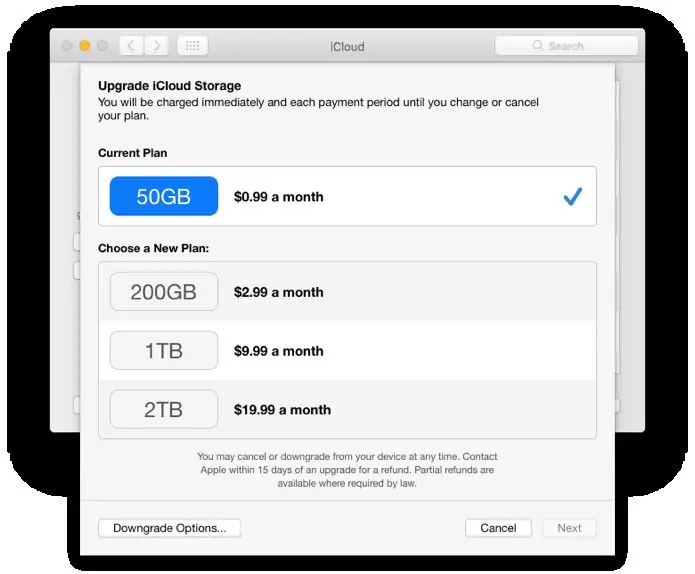
So how do you upgrade your iCloud storage? Getting more space is easy and you can do it from any device, including your iPhone. On your computer, go to Settings - iCloud - Manage - Buy more storage. On iPhone it's pretty much the same, only from the iCloud app you go to "Manage storage" and then "Change storage plan".
The next logical question is how much does iCloud storage cost? Well, it depends primarily on your location and how much memory you would like to get. There are plans for 50 GB, 200 GB, and even 1 or 2 TB. The exact cost is indicated directly in the menu when you open it, next to the plan.
Important note: keep in mind that you only get extra space once, but you will have to pay monthly to use it. Missing or downgrading a payment can result in data loss, backup failures, and a host of other problems. So when you sign up for a paid plan, be sure to update your payment method.
You can decide which option is best for you to free up iCloud space - clear storage or simply upgrade your paid plan to a more advanced one. Most importantly, from now on you will be able to maintain order on your phone and computer.


