- Author Lauren Nevill [email protected].
- Public 2024-01-11 01:04.
- Last modified 2025-01-23 15:15.
Currently, the Joomla content management system is one of the most flexible and functional. Many webmasters use it to create websites. Before commissioning, any site requires certain configuration and testing. Testing also requires added or changed functionality. Therefore, it makes sense to install joomla on a local host immediately after deciding to develop a site based on this CMS.
It is necessary
An installed and configured HTTP server with a module that provides execution of scripts in PHP. Installed and configured MySQL DBMS. MySQL DBMS client program, or an installed phpMyAdmin package. PHP interpreter. Modern browser. Access to the Internet
Instructions
Step 1
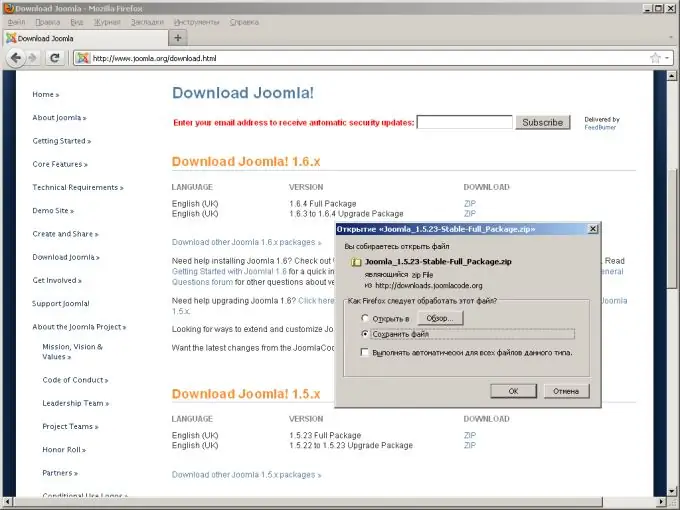
Download the Joomla distribution archive. Open the address in the browser https://www.joomla.org/download.html. Select a distribution kit from one of the product lines presented on the page. Click on the link to download the distribution. Save the archive with Joomla files to your computer disk
Step 2
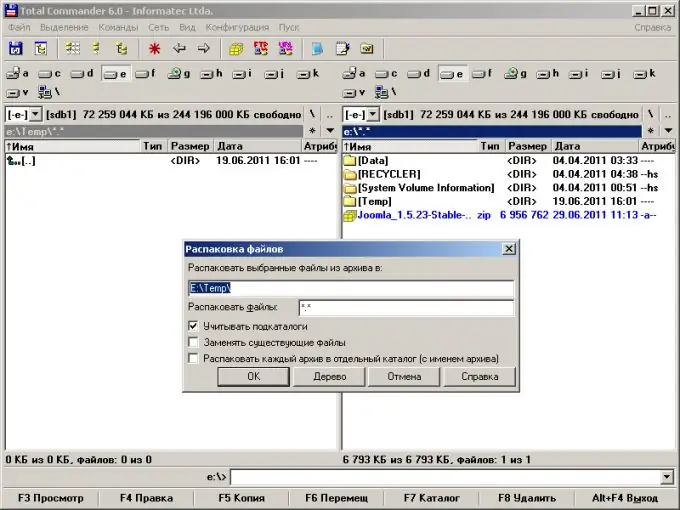
Unpack your Joomla distribution to a temporary folder. Use the unpacking program or the functions of the file manager. One of the freeware programs that can be used to unpack the Joomla distribution is 7-Zip. This program can be downloaded from 7-zip.org.
Step 3
Create a new virtual host on your local web server. Edit the configuration files, or use the graphical snap-in to create a new website. Restart the server if necessary.
Step 4
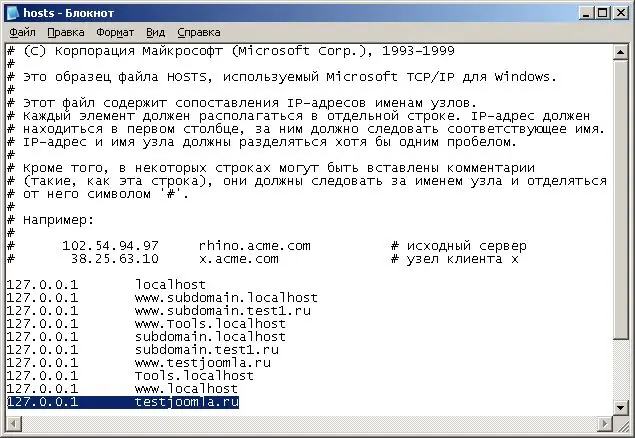
Add an entry in the hosts file to resolve the name of the created host on the local machine. The hosts file is located in the / ets directory on Linux-like systems and in the C: / WINDOWS / system32 / drivers / etc / directory on Windows. Set the host IP address to 127.0.0.1.
Step 5
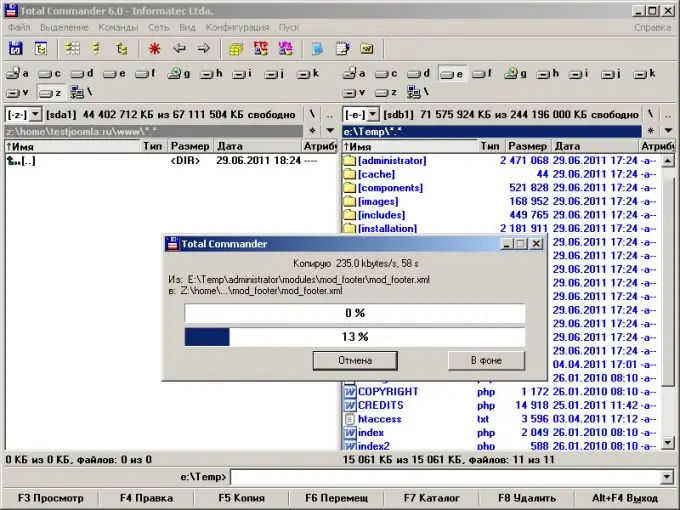
Copy the Joomla distribution files to the root directory for the host created in step 3. For the Apache server, this directory is specified as the DocumentRoot parameter value in the configuration files.
Step 6
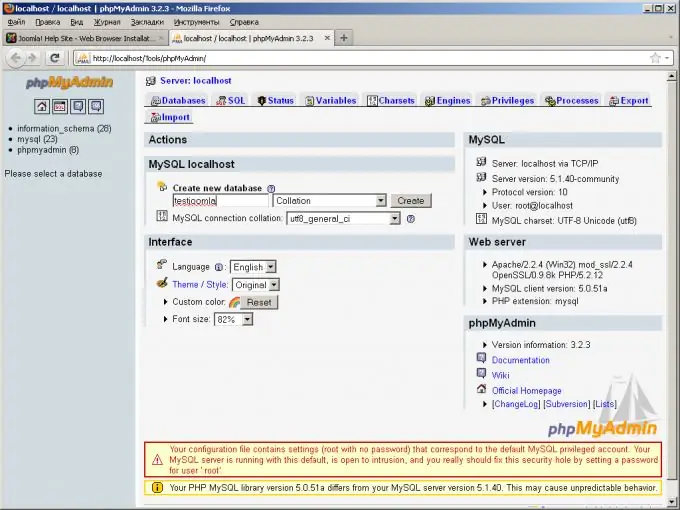
Create a MySQL database for Joomla. Use MySQL administration clients such as mysql, MySQL Control Center, MySQL Workbench, or the phpMyAdmin package. If necessary, create a separate user for the Joomla database.
Step 7
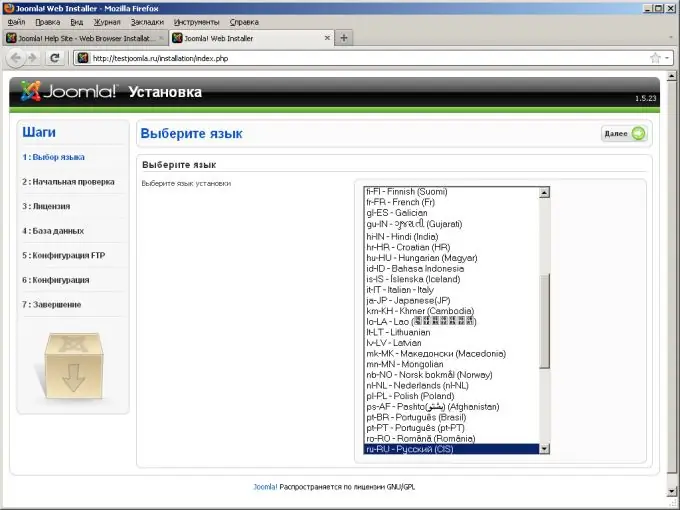
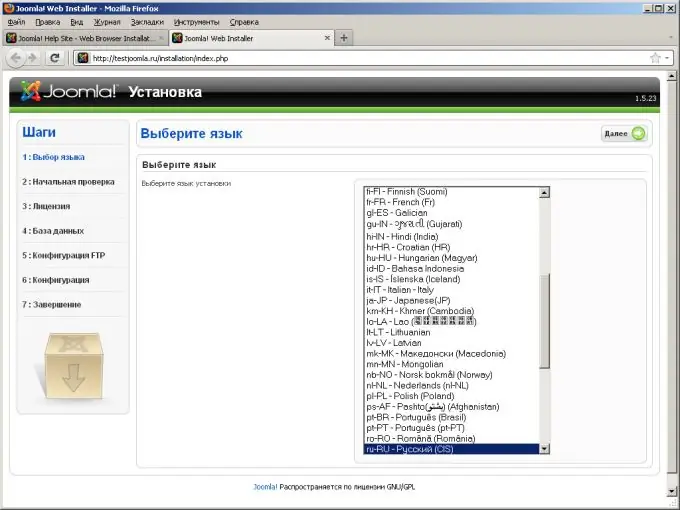
Install Joomla to localhost. Open an address like http: <domain> in your browser, where as a marker specify the symbolic hostname created in step 3. The browser displays the first page of the Joomla installation wizard. Select the installation language and click Next. Read the information about the tests performed and click "Next" again. After reviewing the license, click Next again. At the fourth step of the installation, enter the credentials to access the MySQL database, click "Next". If you are installing Joomla on a Linux-like system, in the fifth step, enter your FTP credentials so that the installation script can change the rights to some files. If the installation is on Windows, just select the "No" option. Click Next. Enter the site name, EMail and administrator password. Click on the "Next" button again.
Step 8
Complete the Joomla installation. Remove the folder named installation from the root directory of the site. Click the "Admin" button on the last open page to enter the admin panel of the site.


