- Author Lauren Nevill [email protected].
- Public 2023-12-16 18:48.
- Last modified 2025-01-23 15:15.
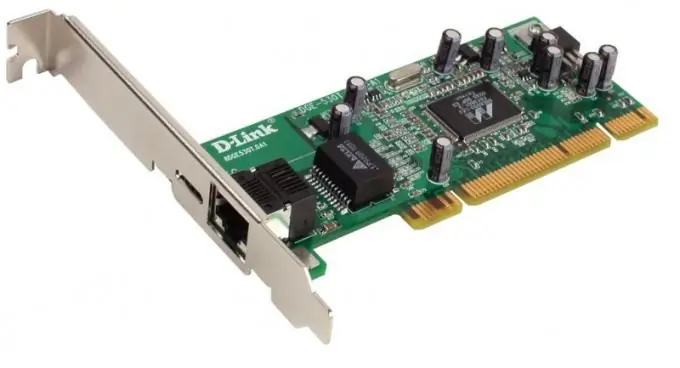
Configuring D-Link network cards consists in installing the required driver and making the appropriate system settings. In Windows, configuration is performed through the "Control Panel" section. To set the required parameters, you need to specify your network data and create a suitable connection.

Instructions
Step 1
In modern Windows 7 and 8 systems, most D-Link card models can be detected automatically. These systems automatically install the correct drivers. If this did not happen, you need to download the driver for the network card manually or use the disk that comes with the card.
Step 2
To download the driver from the Internet, go to the official D-Link website in your browser window. In the top panel of the page that appears, select the "Products and solutions" - "Network adapters" section. On the page that appears, in the "Network adapters" section, select your board model and go to the "Downloads" tab. Select the latest driver available and download it. The downloaded file must be run and installed using the instructions of the installer.
Step 3
To install the driver from disc, insert the storage medium into the drive. After that go to the "Start" - "Computer" menu. On the left side of the window that appears, select "Device Manager". In the list of equipment installed on your computer, select "Network adapters" and double-click on the unknown device. Then click the Update Driver button and follow the instructions on the screen.
Step 4
After making all the settings, go to the "Start" - "Control Panel" - "Network and Internet" - "View network status and tasks." Click on "Change adapter parameters". Right-click on "Local Area Connection" and select "Properties".
Step 5
With the left mouse button select the line "Internet Protocol version 4", and then click the "Properties" button. In the menu that appears, specify the parameters of your network in accordance with the details provided by your Internet provider.
Step 6
After entering all the necessary data, click "OK" and restart your computer. If all settings have been made correctly, you will be able to access the Internet through your browser.


