- Author Lauren Nevill nevill@internetdaybook.com.
- Public 2023-12-16 18:48.
- Last modified 2025-01-23 15:15.
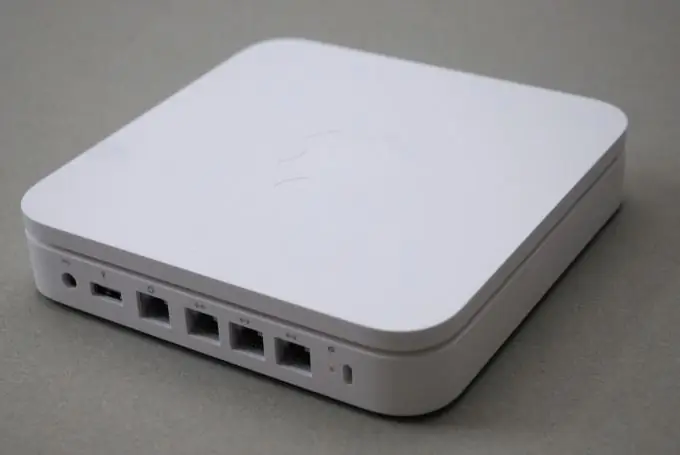
It is customary to use various devices to create your own local network. In the event that it is necessary to provide computers and laptops with Internet access, it is customary to use Wi-Fi routers instead of network hubs.

Necessary
Wi-Fi router
Instructions
Step 1
Select a Wi-Fi router. The specifications of this device must match those of the wireless adapters of notebook computers and possibly computers. Take very seriously your choice of data encryption and signal transmission. It is better to use a router that supports a wide range of links.
Step 2
Connect the router to AC power. Turn on the device. Connect desktops to the Ethernet (LAN) connectors.
Step 3
Connect the network cable provided by your ISP to the Internet (WAN, DSL) connector. Open the instructions for your Wi-Fi router. Find in it his initial IP-address, username and password required to access the settings menu.
Step 4
Enter the IP address of the equipment into the address bar of the browser of one of the computers connected to the router. Enter login and password.
Step 5
The main page of the web-based interface of the router settings will be displayed on the screen. Open the Internet Setup (WAN Settings) menu. Change the necessary items for communication with the server, guided by the recommendations of your provider. To simplify the procedure for configuring other devices, enable the DHCP function if it is supported by this router model.
Step 6
Save your settings and navigate to the Wi-Fi Configuration, Wireless Setup menu. Come up with and enter a name for your wireless network. Set a password. Select the data encryption protocol and the type of radio signal from the offered options.
Step 7
Save the settings. Disconnect the Wi-Fi router from the mains. Turn on the device. Repeat the procedure for logging into its web interface. Make sure internet access is active.
Step 8
Turn on laptops, activate the search for wireless networks. Select your network and connect to it.


