- Author Lauren Nevill [email protected].
- Public 2024-01-11 01:04.
- Last modified 2025-01-23 15:15.
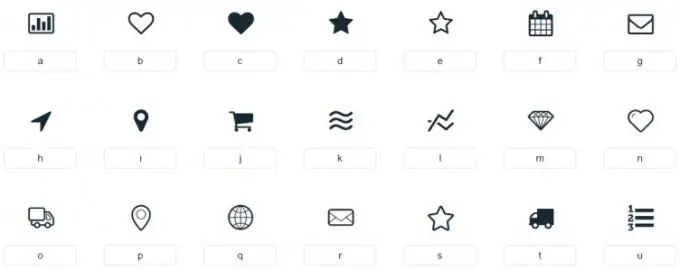
Previously, when creating sites, you had to use bitmap icons. It was beautiful, but uncomfortable for a variety of reasons. Today, vector icons have replaced raster icons. This is an original and elegant solution that will decorate and refresh your site.
Instructions
Step 1
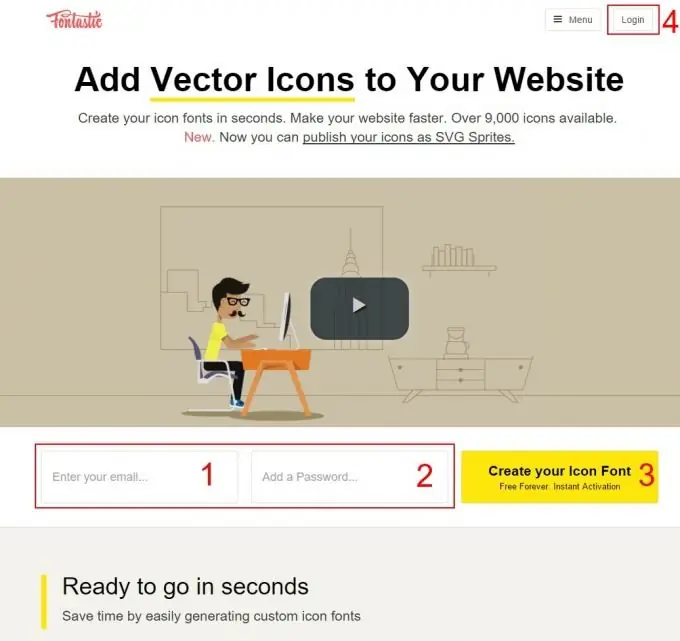
There is a good web service for creating fonts from icons. It's called Fontastic. It is completely free and no ads. The first step is to register on the service website. Go to the website fontastic.me, enter your email address in the input fields and create a password, then click the big yellow button "Create your Icon Font". Sometimes it happens that no information confirming successful registration is displayed. Don't worry about it, move on to the next step.
Step 2
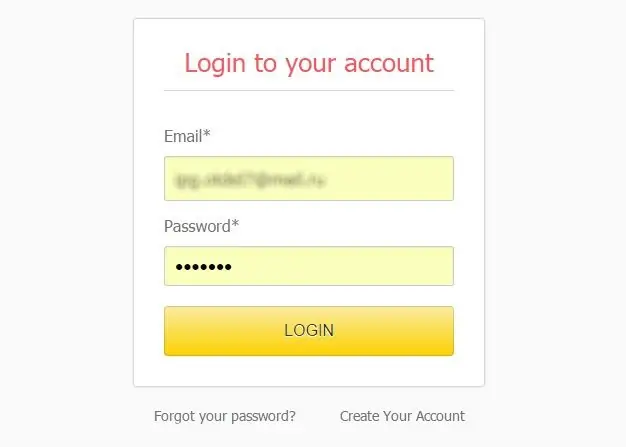
Now click on the "Login" button located in the upper right corner. On the page that opens, enter your e-mail and password again, press the "Login" button.
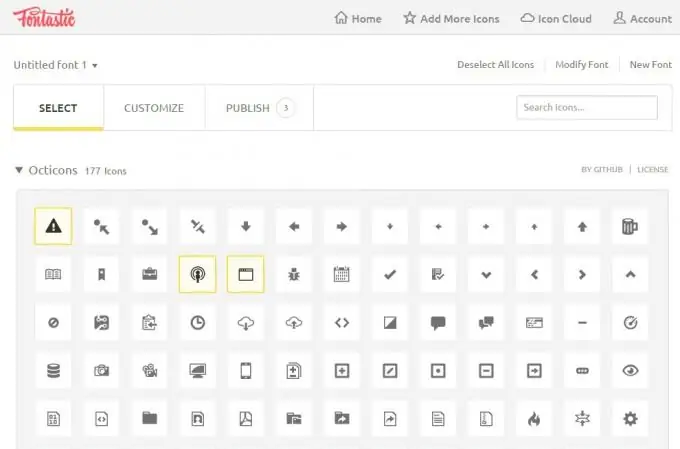
After waiting a few seconds, the panel for creating fonts from icons will open.
Step 3
Here is a large selection of icons. By clicking on the icons you like with the mouse, select as many icons as you need. At the top, after the word "PUBLISH", the number of selected icons is indicated.
Step 4
If you are missing icons from the presented number, scroll down to the bottom of the page and find the button that says "Add more icons". Click on it.
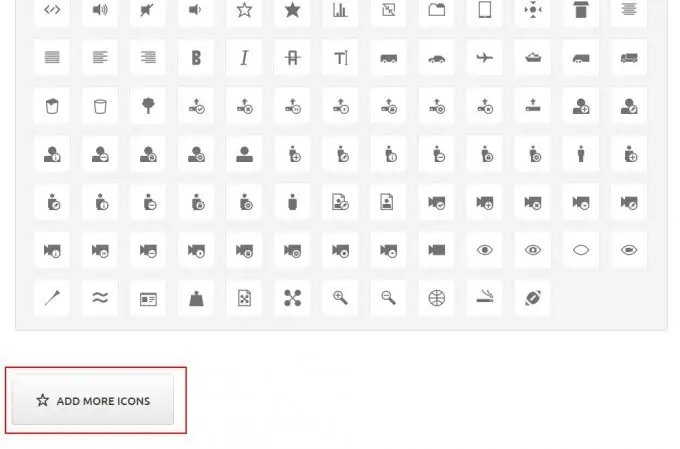
Step 5
A page with additional icon packs will open. Some of them are paid (labeled "Premium"), some are free. To activate additional icons, press the "ACTIVATE" button on the selected packages. Now they will appear in the general list of available icons when you go to getting started with the control panel by clicking on the "Home" button in the top menu.
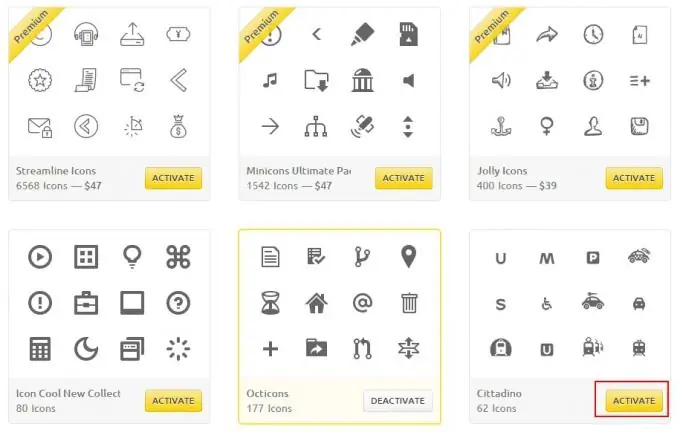
Step 6
If you need to add your own icons, then on the same page at the top right, click on the "IMPORT ICONS" button. You can now upload your own icons. Please note that only SVG vector format is supported.
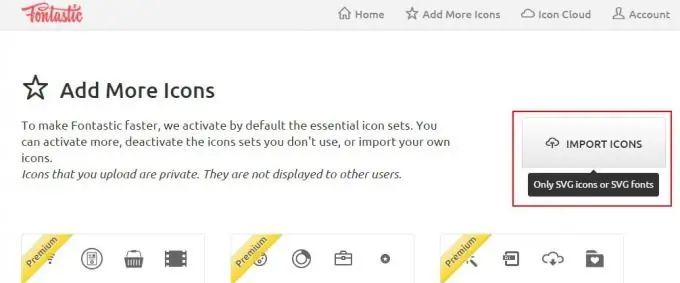
Step 7
Having selected the required number of icons, press the "CUSTOMIZE" button. Here you will see all the selected icons, and you can assign arbitrary class names for them, by which you will refer to them in CSS styles. Or you can leave the default names that the system has assigned to the icons.
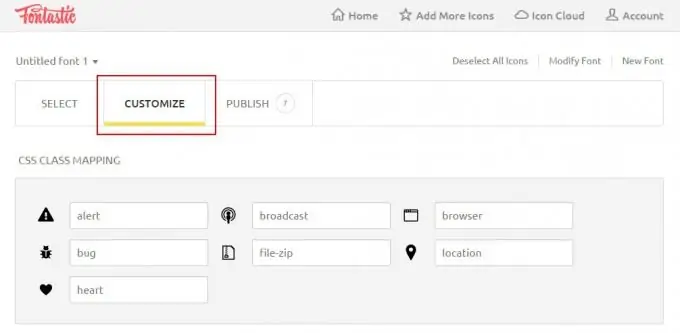
Step 8
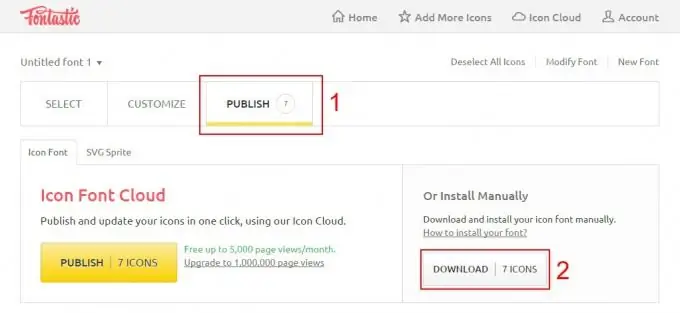
Press the "PUBLISH" button. Here you can download the created vector icon font ("DOWNLOAD" button). Download the font archive created by the service to your computer.
Step 9
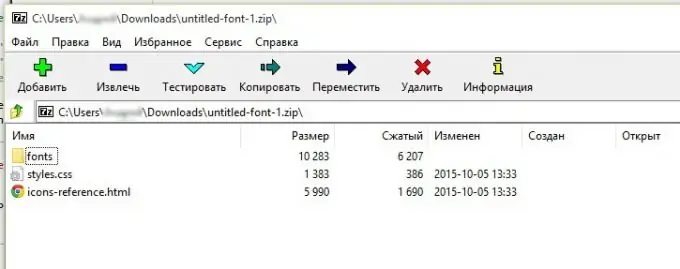
The downloaded archive contains the CSS style file, the HTML file with the names of the icon classes and the "fonts" folder with the fonts. This icon font can be used on your website.
Step 10
To use the created icon font, you need to do the following:
- unpack the contents of the archive and upload to your site in the directory with styles;
- insert a link to a CSS file in the HEAD section of all site pages that will work with this icon font;
- in the page code, we use the name of the previously created classes to use the newly created icon font.


