- Author Lauren Nevill nevill@internetdaybook.com.
- Public 2023-12-16 18:48.
- Last modified 2025-01-23 15:15.
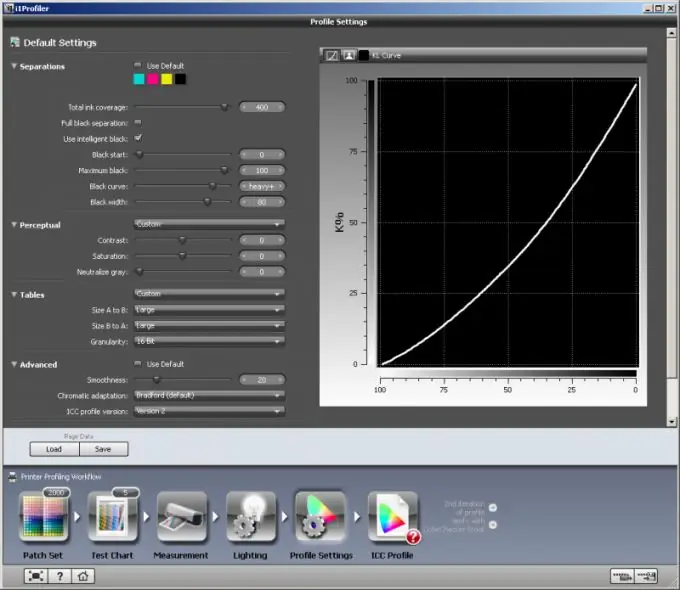
It is customary to name a profile as an auxiliary file for the driver of an installed printer with the extension *.icm or *.icc, which allows you to define the parameters of the mixture of colors to reproduce the desired color.

Instructions
Step 1
Make sure you need to create and use a profile - according to experts, in the vast majority of cases (about 95 percent) using compatible inks and different types of photo paper will provide the necessary color reproduction parameters. Profiling is mainly required by professional photographers and designers when printing complex and highly accurate black and white photographs. Modern printers provide print quality that will satisfy the most discerning users.
Step 2
Use several different programs, or try changing the printer settings to achieve the print quality you want. Try several different types of photo paper to determine the desired color rendering effect.
Step 3
Make sure your computer monitor is properly calibrated and profiled. Color may vary depending on settings. Remember that the maximum effect is achieved not by using ready-made profiles, but by making an individual profile for a specific printer.
Step 4
Call the context menu of the required profile by clicking the right mouse button and select the "Install Profile" command to complete the installation procedure, or create copies of all files with the.icm or.icc extension in the system folder intended for saving color profiles:
- drive_name: / Windows / system / color - for Windows 95, Windows 98 and Windows ME;
- drive_name: / Windows / system32 / color - for Windows NT;
- drive_name: / Wndows / system32 / spool / drivers / color - for Windows 2000 and Windows XP.
Step 5
Expand the File menu of the printing program you are using and select Print to apply the installed profile.
Step 6
Click the "Properties" button and use the "Advanced" option on the "General" tab of the dialog box that opens.
Step 7
Specify the desired resolution and select the appropriate media type. Check the No Color Correction box in the Color Correction group, or select ICM and apply the No Color Correction check box (depending on your printer model).
Step 8
Confirm your selection with the OK button and return to the Print menu.
Step 9
Specify the set color profile and confirm the application of the selected changes by clicking the OK button.


