- Author Lauren Nevill nevill@internetdaybook.com.
- Public 2023-12-16 18:48.
- Last modified 2025-01-23 15:15.
Odnoklassniki.ru is a very popular site used by both young people and people of a fairly mature age. Users of this site entertain themselves in different ways: someone plays games, someone listens to music, someone watches videos, communicates with friends, and someone loves to collect interesting and funny statuses.

Necessary
- - computer;
- - access to the Internet.
Instructions
Step 1
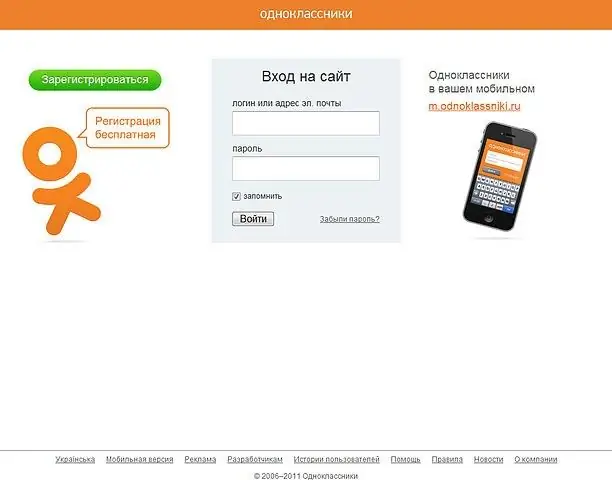
If you want to set a status on the Odnoklassniki.ru website or change the old status to a new one, you need to take the following steps. Go to the Internet, find any search engine and enter the text "Odnoklassniki.ru" into the search bar. A list of various sites will appear in front of you, and this social network should be in the first place of this list. Click on the website address so you will be taken to it. In the window that opens, enter your username and password in special lines.
Step 2
Your page on the Odnoklassniki.ru website will open in front of you. On the left you will see your main photo, and to the right of it there will be a menu: “General”, “Friends”, “Photos”, “Groups”, “Games”, “Notes”, “More”. Below this menu, you will see a special window highlighted with a green frame. Click on it, enter your status text and left-click on the "Share" function. This will set a new status on your page.
Step 3
If you do not want your status on the Odnoklassniki.ru website to be plain text, you can add any audio recording, photo, link to it, or even create a poll. To do this, you need to do all the same steps as when entering ordinary text into the status, and then click on one of the buttons below. The buttons have the following names: Add Text or Link, Add Photos, Add Music, and Add Poll. In addition to the ability to add various objects to the status, you can mark friends in your status and be sure that they will accurately look at this status.
Step 4
Also, the status can be set as follows. Go to your audio recordings page and click on any song. It should start playing. Under the name of this song, you will see the inscription: "To status". Click on this button and the song that is playing at that moment will be set instead of your status.


