- Author Lauren Nevill nevill@internetdaybook.com.
- Public 2023-12-16 18:48.
- Last modified 2025-01-23 15:15.
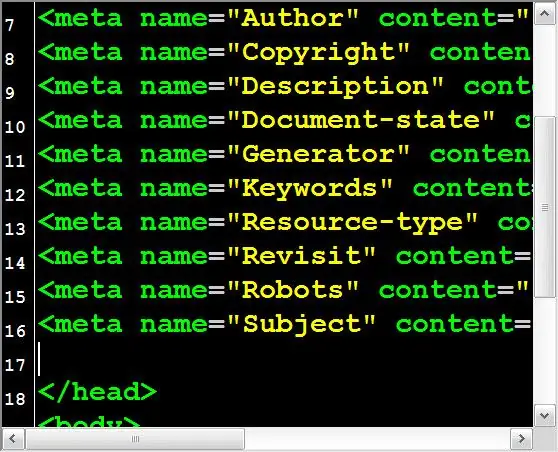
Meta tags are service tags (instructions) of HTML (HyperText Markup Language). They differ from regular tags in that they do not provide information about the location or appearance of any elements displayed on the page. The purpose of meta tags is to inform the user's browser or crawler with general information about the page. This can be, for example, information about the used symbol table ("encoding"), a short description and keywords related to the text placed on the page, etc.

Instructions
Step 1
Use the correct syntax when preparing meta tags for insertion into the page's source code. This HTML statement must begin with an open parenthesis and the tag name, preceded by a space followed by a slash ("/>") when using the XHTML standard. This tag must have the value of the content attribute, and the other three parameters provided for this tag are optional, although the name attribute is used very often. For example: The name attribute of the above sample is assigned the value description - this indicates to search robots that a short description of the texts placed on the page is placed in the content attribute of this meta tag.
Step 2
Open the HTML code of the page where you want to place the prepared meta tags. This can be done in the online editor of the pages of the content management system. If you do not use it, then the page can be downloaded to your computer and opened with any text editor (for example, a standard Notepad). To do this, you can use the file manager in the hosting control panel or a special program - FTP client. Meta tags should be placed in the header part of the page code, that is, between the and tags. Find the closing tag and insert your tags before it. If you use an online editor, then all this must be done by first switching from the visual mode to the HTML code editing mode.
Step 3
Save the changes you made to the source code of the page. If you downloaded a page from the site to your computer, then do not forget to download it back by overwriting the old one with a new file.


