- Author Lauren Nevill [email protected].
- Public 2023-12-16 18:48.
- Last modified 2025-01-23 15:15.
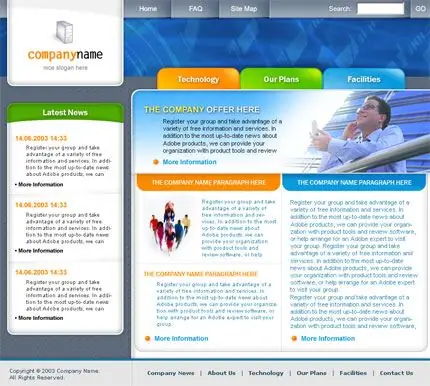
In creating a website, the stage of rendering the page design is very important, which will subsequently be typeset and published on the network. In this article, you will learn how to draw a competent layout for a site using Adobe Photoshop, on the basis of which you can later form more complex layouts.

It is necessary
Adobe Photoshop program
Instructions
Step 1
Create a new file in Photoshop (Ctrl + N) with dimensions 1040x1400, where 1400 is the height. Turn on the display of rulers (Ctrl + R) and set pixels as units of measurement in the ruler settings.
Step 2
Start stretching the guides so that they fit the borders of the layout boxes. Stretch the side borders so that 40 pixels are left to the edges. The top and bottom borders should also leave 40 pixels on each side to the borders of the background.
Step 3
Then select a guide that is 200px down from the top of the background for the top header.
Step 4
To form the sidebars on the left and right of the layout, set the guides 240 pixels from the background border to the left, and 800 to the right.
Step 5
5px inward from the left and right sidebars and draw two more vertical guides. Then drag two more guides 245 px to the left and 795 px to the right.
Step 6
Now measure from the border of the header 30px and draw a horizontal guide for the horizontal menu.
Step 7
Select the narrow area of the horizontal menu that you just marked with a rectangular selection using the M key. Select the fill tool and fill the area with a neutral light gray color.
Step 8
Select the fill tool and fill the area with a neutral light gray color. Click on the "Select-Modify-Compress" menu, specify a 1-pixel option and click "OK." Fill the area with a lighter shade of gray - you will have a menu frame.
Step 9
Create a new layer and select a suitable image for the site icon or logo, and then open it.
Step 10
Insert an image on a new layer in the header, placing it on the left edge. To the right of the image, write the text title of the site using any font.
Step 11
Design your website blocks in the same color scheme as the newly created header. Select the area of the left sidebar and perform the same two-color fill operations on it as with the menu block.
Step 12
Do the same with the center wide block of content. Copy the left sidebar layer and place it as the right sidebar.
Step 13
Add text to your layout - choose a neutral font and fill in the menu titles, sample news, photos, tags and links section.
Step 14
Finish the layout by creating a "footer" or footer - write your copyrights and your contacts there.


