- Author Lauren Nevill nevill@internetdaybook.com.
- Public 2024-01-18 21:47.
- Last modified 2025-01-23 15:15.
Sending photos by e-mail is a simple and time-consuming procedure. It may take a little more time to pre-convert the files that store your photos to a convenient form for sending.

Instructions
Step 1
Scan photos if they are not in electronic form (in a file).
Step 2
Archive your photo files if the total weight is too large. It is worth focusing on the threshold value of about five megabytes, although it will be more correct to proceed from what kind of Internet connection the recipient of your letter has. For archiving, you can use the common WinRAR program. After installation on a computer, it adds its commands to the standard Windows Explorer, so it is convenient to carry out this procedure in it. Launch File Explorer by pressing CTRL + E or by double-clicking the My Computer shortcut on your desktop.
Step 3
Navigate in Explorer to the folder containing the photo files you want to pack. Select them and right-click. The context menu will contain the line "Add to archive" - select it.
Step 4
Specify in the "Archive name" field the name of the created photo storage. By default, the name of the folder will be indicated there - you can leave it, and if you decide to change, then note that the rar extension together with the period in front of it should be left unchanged.
Step 5
Click the "OK" button to start the archiving process and the program will create in the same folder a file with the specified name containing your photos.
Step 6
Make this archive multivolume if packed photos are too heavy. A multivolume archive consists of several files, the maximum weight of each of which you can specify during the conversion process. You will have to upload these files separately. To set conversion options, double-click the created archive.
Step 7
Press the keyboard shortcut alt="Image" + Q and click the "Compress" button to access setting the file sizes of the multivolume archive.
Step 8
Enter the size limit for each file in the box under the "Divide into volumes in size …" field. For example, to specify a limit of five megabytes, write 5 m.
Step 9
Click the "OK" button in this and the next window for the archiver to start the conversion process. When finished, click the Close button.
Step 10
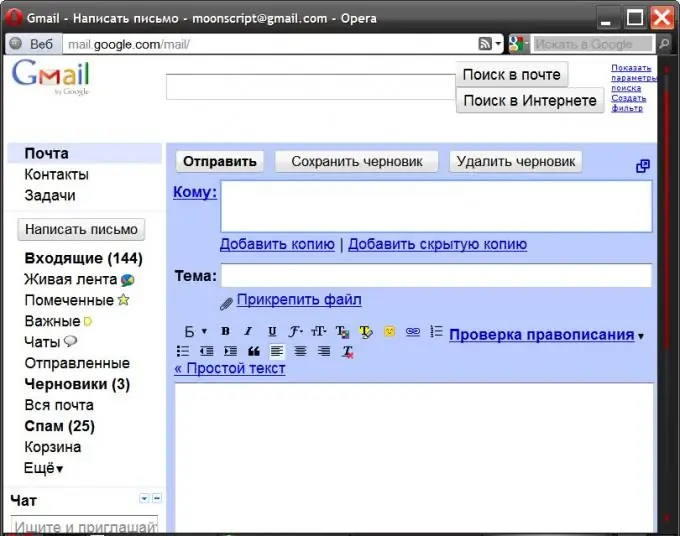
Send the prepared files in the usual way. If you are used to using the web interface of any mail service, then go to the corresponding site, log in and click the "Write a letter" button.
Step 11
Fill in all the required fields of the new message form, including the accompanying text for the photos you send.
Step 12
Click the "Attach a file" link, then the "Browse" button, find the first of the files of the uploaded archive on your computer and double-click it.
Step 13
Send a message with an attached file, and then repeat the process of creating a letter, attaching a file to it, and sending for each remaining archive file.


