- Author Lauren Nevill nevill@internetdaybook.com.
- Public 2023-12-16 18:48.
- Last modified 2025-01-23 15:15.
To upload an image to a website or social network, or to add it to a document or presentation, you often need to resize the photo. You can perform this action using special programs, online resources and additional Windows applications. As a rule, such work does not cause difficulties, therefore, even a novice PC user can cope with the task of reducing or enlarging a photo.

It is necessary
- - a computer;
- - the Internet;
- - a photo that needs to be resized.
Instructions
Step 1
Resizing photos is easy. It is only important to choose your own, in which it is most convenient to work. The most affordable option for resizing images is to use the standard office application Microsoft Office Picture Manager. To do this, open the folder with the desired photo, move the cursor over it, right-click and select the option "Open with …" in the drop-down window and select Microsoft Office Picture Manager in the pop-up panel on the right. When your picture opens in the application, find and click the "Change Pictures" button on the top toolbar. After that, in the window that opens on the right, select the item "Resize". Then set the image as desired. For convenience, you can use ready-made options. Select "Standard Width and Height" and select the desired photo size. Or set custom width and height.

Step 2
To resize photos, you can use another program that is available on every computer with the Windows operating system - Paint. Open the image with Paint, select the "Picture" menu on the toolbar, and then the "Attributes" option in the drop-down window. After that a new window will appear on the desktop of the program, in which the dimensions of the image will be indicated. Here you can set your parameters. In this case, do not forget to select the appropriate unit of measurement: inches, cm, points. Or just drag the border change handles. Then save the result. Please note that this will change not only the size of the image, but also the photo itself: after all, you will crop parts of it.
Step 3
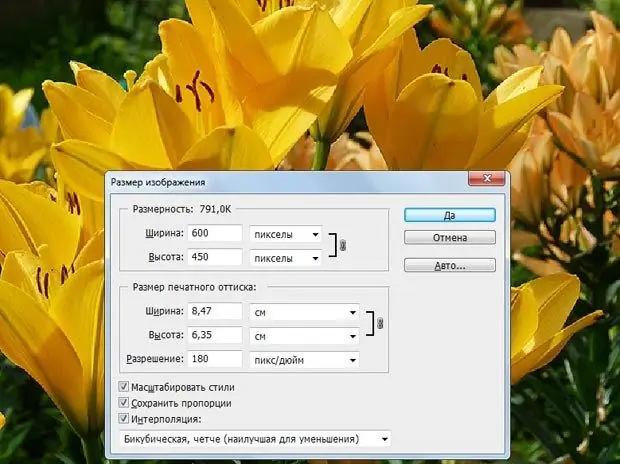
If you have Photoshop installed on your computer, open the image you need to process using this program. Then click the Image button on the toolbar and select Resize Image. Set the required width and height, put a tick in front of the "Maintain proportions" item and save the finished result using the "Save As" functions in the "File" menu.
Step 4
Also try some special online services. For example, the Resize Now site is perfect for this purpose. Working with this service is very simple: select an image, specify the required size. For convenience, it is suggested to use ready-made options: small (640 pixels), medium (800 pixels), large (1024 pixels), or set arbitrary data. If you are using simple mode, you simply resize the image. If you choose the advanced digital photo processing mode, you can additionally specify the picture quality and use the "Sharpen" and "Grayscale" options. Then click the "Resize" button, after which you can download the processed photo in the size you specified by clicking the link with the name of the picture to the right of the image. After 15 minutes, the processed photo will be automatically removed from the site.
Step 5
Another good site for resizing photos is Resizepiconline. Here you also need to upload a photo first, you can have several. Then, move the slider on the Width and Height rulers to specify the output size. Here, without losing image quality, you can change the image format from.jpg
Step 6
The online service Photofacefun works somewhat differently. To work with it, go to the resource website, upload a photo by clicking the appropriate button, specify the required image size in the special fields. After a few seconds, download the finished photo by clicking the "Download" button. You can also save the result by right-clicking on the processed image and selecting the "Save Image As" option. On the same site, you can apply photo effects, filters, apply frames, insert a face, use a photo editor and the necessary tools (crop photos, reduce, covers, avatars, wallpapers) to a photo.


