- Author Lauren Nevill [email protected].
- Public 2023-12-16 18:48.
- Last modified 2025-01-23 15:15.
Today, almost every Internet user has a personal website or blog. The ability to open a personal project is provided by many services. Expanding his project, the site owner is primarily faced with the task of editing the main menu.
It is necessary
- - access to the administrative panel;
- - basic knowledge of HTML and CSS.
Instructions
Step 1
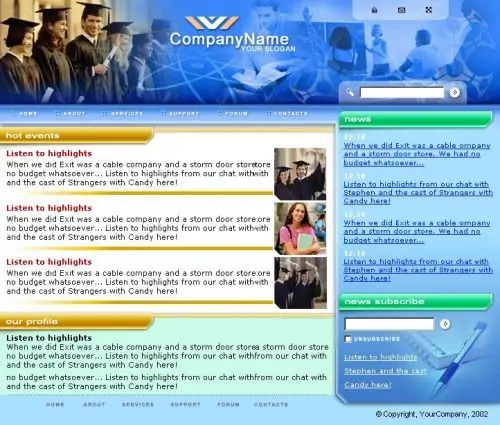
Edit the menu of a site located on a paid hosting yourself. Open the HTML for the home page of your site in an HTML page editor such as Dreamweaver, and change the order and number of menu items. Change the design of menu elements in the CSS file (located in the root folder of the site), if the menu buttons are made in the form of pictures, delete the old pictures and load new ones instead. Place them in the folder with images and write the access paths correctly.
Step 2
Modify the project menu on the ucoz platform: add and edit sections in the constructor "Control Panel"> "Menu Builder". Standard templates use specific code to display - work with this code in the menu editor. Correct the order of the menu items using the mouse.
Step 3
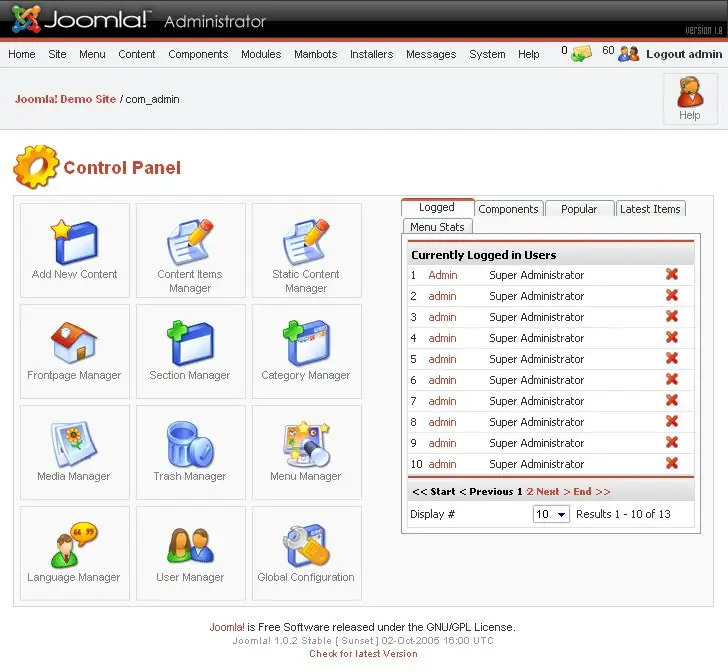
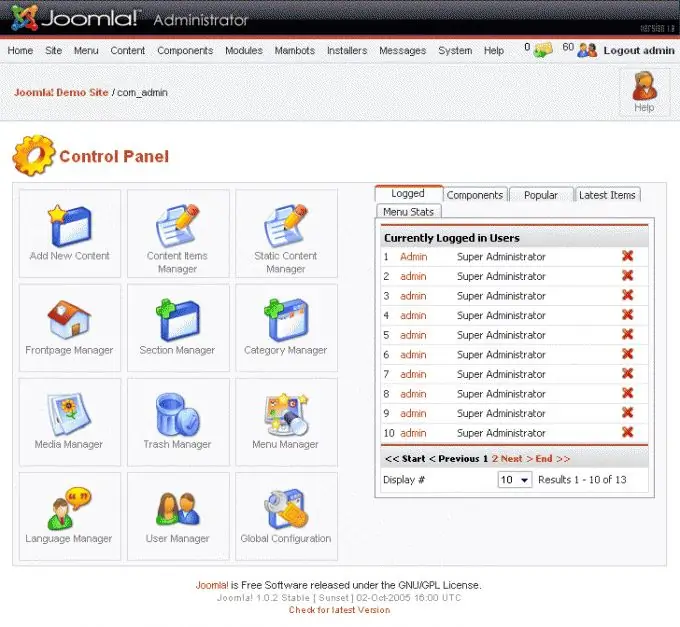
Open the menu manager in the Joomla system, it will have 6 items: main menu, user menu, top menu and 3 introductory items necessary for learning Joomla - delete them. Highlight the section you want to edit, click the Edit button, and adjust the title and menu items in the editor.
Step 4
Add sections and edit the menu for your personal photo site (provided, for example, by the fishup photo service). Select "Site content" in the site editing system in the "Personal site" section. On the page that opens, go to the "Additional pages" tab and create new sections. Then, on the Site Menu tab, add the newly created page to the menu. Here, edit the names of the items and change their order as you wish.

