- Author Lauren Nevill [email protected].
- Public 2023-12-16 18:48.
- Last modified 2025-01-23 15:15.
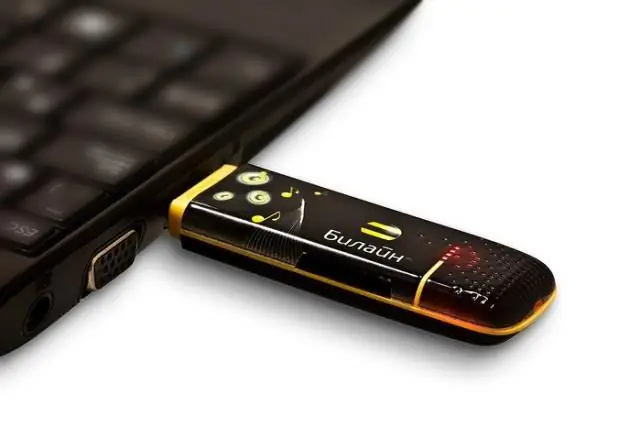
With all the obvious advantages, USB modems often create problems for their owners. So, in the event of a problem, telecom operators sometimes recommend a complete reinstallation of network equipment. It happens that this procedure has to be performed up to several dozen times a year. Beeline modems are no exception in this regard.

Instructions
Step 1
Connect the modem with a SIM card to your computer or laptop. Wait while the computer finds hardware and network.
Step 2
From the Start menu or My Computer, find Control Panel and select Add or Remove Programs. Find your modem's monk and click the "Delete" button.
Step 3
At the request of the system, confirm the choice to uninstall the software for the modem by clicking the OK button in the request window. A window will appear showing the process of removing hardware drivers from the system.
Step 4
Wait until the removal of the modem is complete. Do not disconnect it from the computer until you are sure that the procedure is complete. The operating system will tell you when this happens. Now you can reinstall the modem.
Step 5
To do this, disconnect the modem from the USB port, remove the SIM card and reconnect the device to the computer. It will be detected automatically by the system and the process of installing its software will begin. You only need to select the interface language.
Step 6
When the system has installed all the necessary drivers and applications, it will prompt you that there is no SIM card in the modem. Replace it and reconnect the modem to the port. In most cases, the problem that required you to reinstall the modem will be resolved.
Step 7
If during the process of removing the modem something went wrong - there was a failure in the system, the computer's power was turned off, you disconnected the modem without waiting for the complete removal of the software - it will be more difficult to resume the procedure. Most likely, there will be no device shortcut in the Add or Remove Programs section, and the system will not be able to remove the modem automatically. Then you will have to remove the remaining hardware components manually.
Step 8
To do this, right-click on the "My Computer" icon and select "Properties" in the context menu. In the "System Properties" window that opens, select the "Hardware" tab and click "Device Manager".
Step 9
In the Device Manager window, expand the Universal Serial Bus Controllers hardware list. Select from the list the item with the name of your modem controller, for example, Globe Trotter HSxPA. By calling the context menu with the right mouse button, or using the button on the toolbar, delete the specified device.
Step 10
Next, in the same window, expand the "Network cards" item and find the network card of your modem. In this example, it will be called Globe Trotter HSxPA - Network Interface. Delete it by analogy with the previous step. Click the Update Hardware Configuration button on the top toolbar.
Step 11
Check the lists of USB bus controllers and network cards. There should be no equipment with the name of your modem in them. If the modem shortcuts remain on the desktop or in the tray, disconnect it from the USB port and restart the computer. The system configuration will be updated, and all references to the modem will disappear from it. Now you can install the modem in the usual way.


