- Author Lauren Nevill [email protected].
- Public 2023-12-16 18:48.
- Last modified 2025-01-23 15:15.
To create a wireless network, routers or routers capable of operating in the access point mode are used. Data transfer takes place using Wi-Fi technology.

Necessary
Wi-Fi router
Instructions
Step 1
Choose the networking equipment that suits your needs. Be sure to make sure that this Wi-Fi router is capable of creating access points that work in the desired mode. Select the appropriate Wi-Fi router based on your wireless network requirements.
Step 2
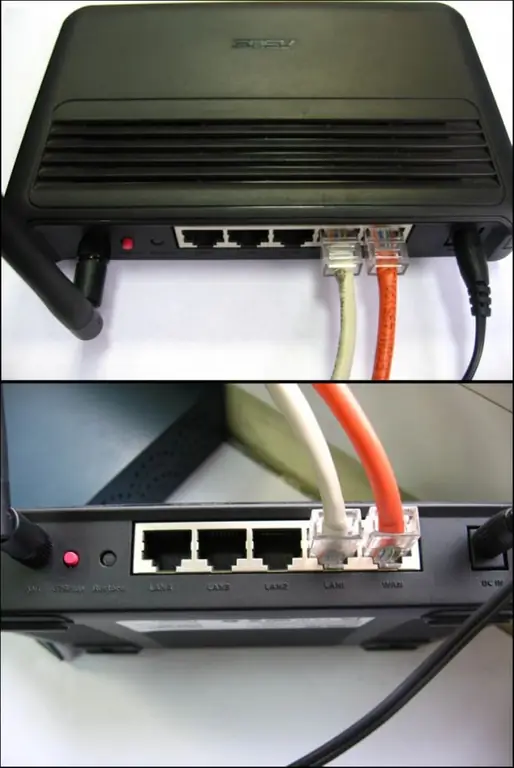
Connect the equipment to AC power by installing it in the desired location. Connect the Internet access cable to the device. Typically WAN or Internet ports are used for this. Now use a twisted pair to connect the network card of the laptop or computer to the LAN connector of the router.
Step 3
Turn on your network equipment and the computer connected to it. After loading the operating system, open an Internet browser and go to the web-based interface of the router's Wi-Fi settings. Typically, network devices have an internal IP address of 192.168.0.1 or 192.168.1.1.
Step 4
Open the Internet Setup (WAN) menu. Configure the parameters of the Wi-Fi router. Be guided by the recommendations of your provider. If you want to connect multiple computers to the network, then activate the NAT and DHCP functions. Save device settings and reboot. Reopen the web-based interface of the router. Go to the Status menu and verify that the equipment has access to the network.
Step 5
Open the Wireless Setup menu. Specify the operating modes of the wireless access currents. Be sure to indicate the appropriate radio signal and security types. Don't forget to set a password that is strong enough. Reboot the Wi-Fi router again after saving the settings.
Step 6
Disconnect the network cable from the computer and connect to the created access point. Launch your internet browser and check if your internet connection is active.


