- Author Lauren Nevill [email protected].
- Public 2023-12-16 18:48.
- Last modified 2025-01-23 15:15.
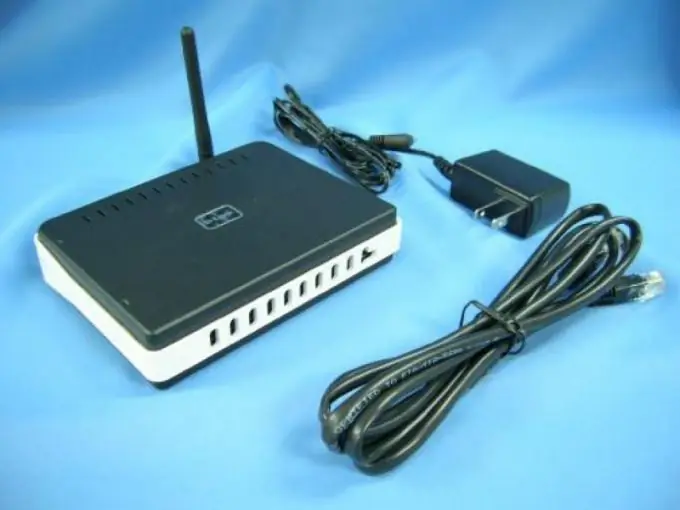
Wi-Fi routers and routers are usually used to create your own wireless access points. For these devices to work properly, it is sometimes necessary to manually define routes for a specific network adapter.

It is necessary
Network cable
Instructions
Step 1
After installing the Wi-Fi router, connect a stationary computer to it via the LAN port. It is better to configure the access point over a cable connection, rather than over a Wi-Fi channel. Turn on your router and computer. Wait for both devices to boot up.
Step 2
Open a web browser on your computer and enter the IP address of the router. In the case of the D-Link DIR 300 device, you must enter 192.168.0.1. Press the Enter key and wait for the equipment web interface to start.
Step 3
Enter login and password. When you turn on the router for the first time, fill in both fields with the word admin. Open the WAN menu. Select the type of data transfer protocol and enter the parameters required to connect the device to the Internet. It is better to connect the provider's cable to the WAN channel in advance. This will allow you to quickly assess the health of the connection.
Step 4
After setting up the connection to the server, go to the Wi-Fi menu. Create your own wireless hotspot. Select the options that your mobile computers or cell phones can work with. Check in advance the supported network types (802.11 b, g, n) and data encryption options (WEP, WPA, WPA2).
Step 5
Reboot your device after completing the settings. Connect all computers to LAN ports or wireless access point. Open the web interface of the router and go to the Routing menu. In the first field of the proposed table, enter the IP address of the network adapter of your computer or laptop.
Step 6
In the second field, enter the IP address of the destination server, for example the desired local resource. Fill in the third field with the subnet mask. In the fourth field, specify the gateway through which this route is created. This could be the IP address of your router or another local computer. Save the settings. Reboot your router.


