- Author Lauren Nevill [email protected].
- Public 2023-12-16 18:48.
- Last modified 2025-01-23 15:15.
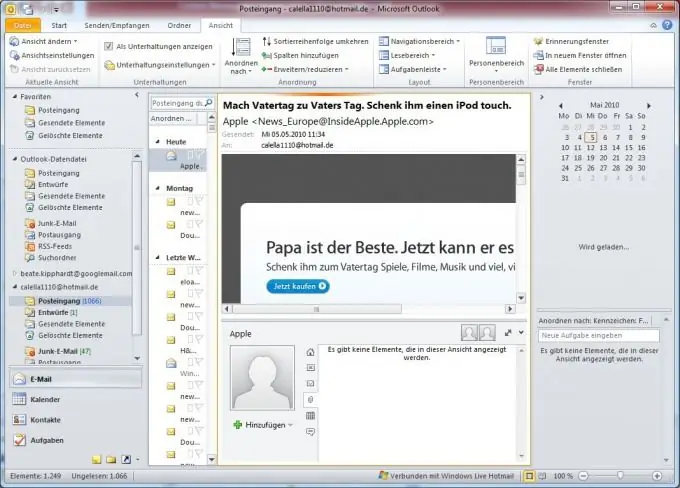
Connecting a mailbox to Microsoft Outlook will save the user from routine work - the need to load the page of the mail service provider, enter a username and password, and will save money spent on unnecessary traffic.

Instructions
Step 1
Go to the page of the site where the required mailbox is located and go to the "Access settings" section.
Step 2
Make sure to check the boxes for "I check my mailbox from another computer" and "Delete messages from the inbox after the mail program has downloaded them to my computer" (wording and interface may vary depending on the selected mail provider) …
Step 3
Open Microsoft Outlook and select the "E-mail Accounts" command from the "Tools" menu of the top bar of the program window.
Step 4
Select the type of incoming mail server in the dialog box that opens. The most commonly used protocols are POP3 and IMAP. It is better to check with your provider for the exact type of server.
Step 5
Enter the desired username displayed in the header of the "From" letters in the "Your name" field and the address for which the application is configured in the "Email address" field of the "User information" section of the new dialog box.
Step 6
Enter the addresses of the POP3 and SMTP mail servers in the corresponding fields in the Server Information section.
Step 7
Enter your username and password in the appropriate fields of the "Login Information" section. As a rule, a short login is entered for free mail servers. For paid mail, the login is most often full - [email protected]
Step 8
Save your password in Microsoft Outlook. To do this, enter the password in the "Password" field and apply the checkbox to the "Save password" field. It should be borne in mind that access to the account will be possible for any user of this computer.
Step 9
Click the Other Settings button and go to the Outgoing Mail Server tab.
Step 10
Apply the check box next to "The SMTP server requires authentication - similar to the server for incoming mail".
Step 11
Click the General tab and specify the name of the organization account to be appended to the sender's name (if necessary).
Step 12
Go to the "Connections" tab and apply the checkbox to the "Local network" field in the "Connect via" section.
Step 13
Click OK to apply the selected changes.


