- Author Lauren Nevill [email protected].
- Public 2023-12-16 18:48.
- Last modified 2025-01-23 15:15.
The Microsoft Windows XP operating system allows you to register any number of users. All users are subdivided into "Administrator" of the computer or "Restricted entry", which differ in their access and control rights to the computer.

Necessary
Windows XP
Instructions
Step 1
Click the "Start" button to bring up the main menu and go to "Control Panel" to create a new user account.
Step 2
Select the "Create an account" item in the "User Accounts" window that opens.
Step 3
Enter the name of the user to be created in the Enter Account Name field and click Next.
Step 4
Select the checkbox on the desired type of account in the field "Select type of account" and confirm the execution of the command by pressing the button "Create account".
Step 5
Select "Change Account" in the "User Accounts" window to change the settings for how the user is displayed on the system.
Step 6
Use the Change Name feature to change the name of the user account.
Enter the desired name in the "Change name" field to change the username.
Step 7
Use the Create Password function to change the user's password. Enter a new password in the Enter New Password field and retype it in the Enter Password for Confirmation field. Enter a hint in the Enter a word or phrase that serves as a password hint.
Step 8
Use the Change Account Type feature to modify the user's access rights.
Step 9
Use the "Change Image" function to change the user's avatar.
Select one of the suggested standard patterns and click the "Change Pattern" button or use the search for images stored on your computer to select the desired pattern.
Step 10
Select "Remove Password" to completely remove the user's password.
Step 11
Select "Remove Account" to completely remove user information.
Step 12
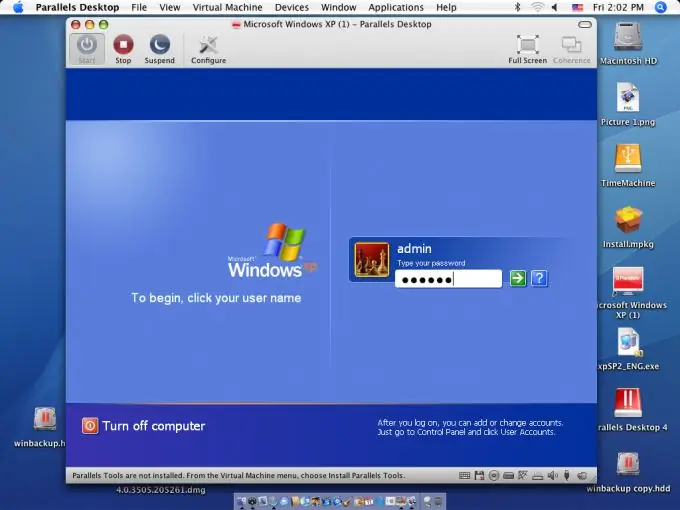
Check the Use Welcome Page checkbox to display a window with icons for all users when the system boots. Uncheck the box to display a standard window asking you to enter your username and password.


