- Author Lauren Nevill [email protected].
- Public 2023-12-16 18:48.
- Last modified 2025-01-23 15:15.
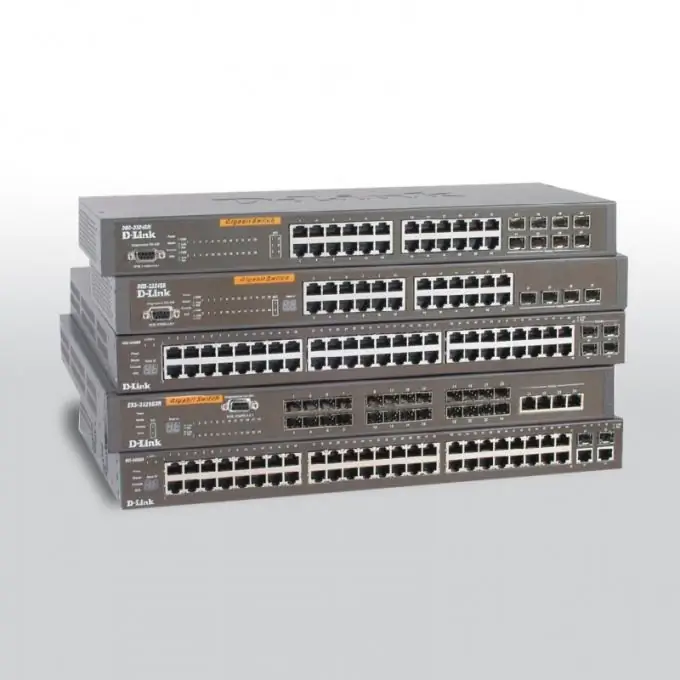
Switches (smart switches) are an improved analogue of network hubs. Their main advantage is that the data packets sent from the client are directed to a specific computer or server. This can significantly reduce the load on the local network.

Necessary
Cable for connecting a computer and a switch
Instructions
Step 1
Install the switch in the desired location and connect the device to AC power. Connect the switch configuration cable to the Console port. Connect the other end to the COM port of the personal computer. Some models of switches may include cables that connect to the USB channel of the computer.
Step 2
Install the Hyper Terminal program. Its use will facilitate access to the switch settings. Select the COM port number that is connected to the network device. Set the maximum baud rate. Apply the parameters and power on the switch.
Step 3
If, after starting the network equipment, the message Continue with configuration dialog appears in the Hyper Terminal program console, press the Y key and use the step-by-step quick setup menu. If there is no auto-configuration function, then set the following parameters for this switch yourself: IP-address; Subnet mask; the address of the default gateway, if one is present on the network; password for access to the switch.
Step 4
Save the specified configurations of the network equipment. Perform additional configuration of its operation parameters, if necessary.
Step 5
Connect computers, laptops and peripherals to the switch. Configure the network adapters for these devices. Set the IP addresses to match the zone in which the switch IP address is located. Make sure the subnet masks are the same for all devices. Check the health of your local network. If the switch is connected to a server or router, then check the ability to access the Internet using network computers.


