- Author Lauren Nevill nevill@internetdaybook.com.
- Public 2023-12-16 18:48.
- Last modified 2025-01-23 15:15.
Hosting is a tool that allows you to host Internet sites on a server based on a single software. In this article, we will tell you how to create a virtual host on your local server created with Denver or WampServer, with the ability to make it real in the future. At first glance, the description of creating a virtual host may seem complicated, but in reality it should not be difficult for users - make sure that all the steps to create a host are as simple as possible.

Instructions
Step 1
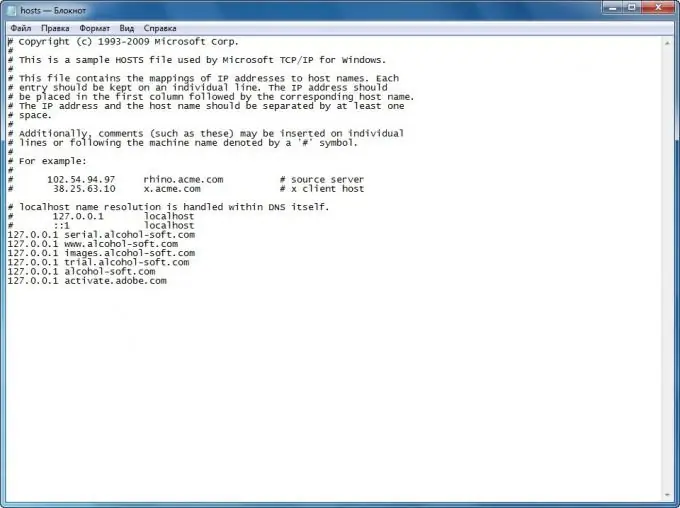
Modify the hosts file (C: / WINDOWS / system32 / drivers / etc / hosts) - add your domains there using the following line:
127.0.0.1 the name of your domain or subdomain without the domain zone prefix (ru, com, org and others).
Step 2
Then, in the Virtual Hosts section, which you will find in the special configuration file httpd.conf, add the following lines:
DocumentRoot "Route to your site"
ServerName your domain name (e.g. mysite)
This entry is the virtual host container. If your server is configured using XAMPP, without using Denver and WampServer, the task will change a little - enter the container code into the httpd-vhosts.conf file. Simply changing httpd.conf is not enough. The path to this file is most often the following: C: / xampp / apache / conf / extra \
Step 3
Then open the httpd.conf file and remove the # sign in front of the Include conf / extra / httpd-vhosts.conf line. This operation will uncomment and connect the httpd-vhosts.conf file to the httpd.conf file.
Step 4
Restart your server and then check if your site is working properly. To open it, enter the domain name that you specified in the virtual host container (mysite) into the address bar of your browser. From now on, your site should open and work on the server.


