- Author Lauren Nevill nevill@internetdaybook.com.
- Public 2023-12-16 18:48.
- Last modified 2025-01-23 15:15.
In the main window of ICQ - programs for real-time communication - a list of users with whom you can conduct a dialogue is displayed. If you no longer need a specific contact, you can delete it.

Instructions
Step 1
The described method is suitable for both ICQ and QIP applications, since their interface is almost identical. Run the program and log in, wait until the main window containing the list of contacts opens.
Step 2
Move the cursor to the line with the name (title) of the contact you want to delete and right-click. In the context menu, select the "Delete contact" item and confirm your actions in the request window by clicking on the "Yes" button. In the same window, you can mark the item "Delete message history" with a marker if you do not want to leave the history of correspondence with this person on the computer.
Step 3
Before deleting this or that contact, you can use another option: delete your name from the list of contacts of the person whose record you want to erase in your ICQ. To do this, right-click on the contact's name and select the "Remove yourself from the contact list" command from the drop-down menu. Answer in the affirmative to the question about confirming the operation.
Step 4
If you often receive advertising messages and your contact list is already littered with them, you may need to refer to the program's settings. In order for the list of contacts not included in the "General" or "Friends" group to be automatically deleted when ICQ starts, in the main application window, click on the "Settings" button with the image of a wrench and a screwdriver.
Step 5
In the window that opens, go to the "Contact list" section. In the "Options" group, set the marker in the "Clear groups" Not in the list "at the next start" field and click the "Apply" button.
Step 6
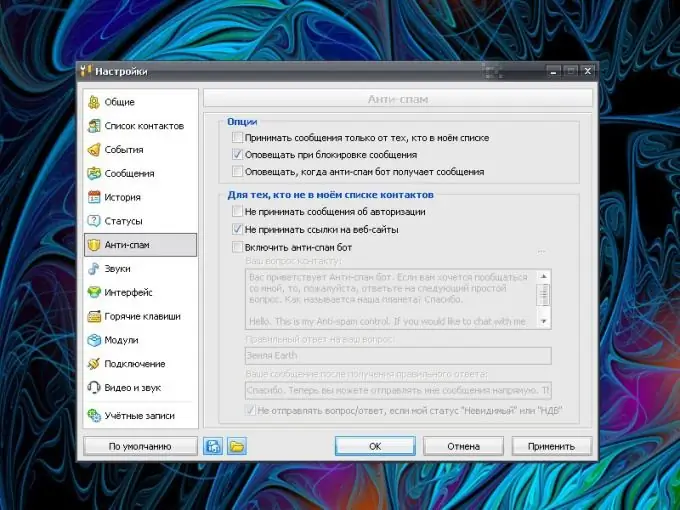
It is also recommended to make all the necessary settings in the "Anti-spam" section - this will protect you from receiving useless messages. After you have marked all the required fields with a marker, do not forget to click on the "Apply" button for the new settings to take effect.


