- Author Lauren Nevill [email protected].
- Public 2023-12-16 18:48.
- Last modified 2025-01-23 15:15.
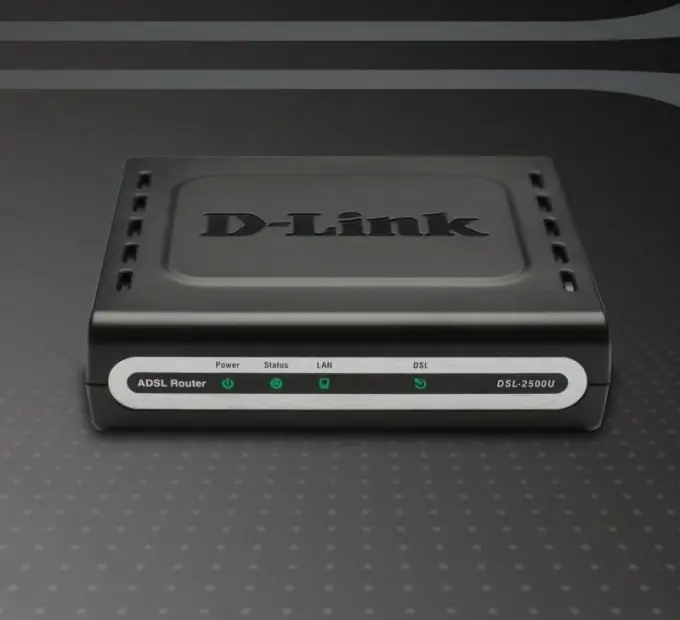
The D-Link DSL 2500u router is a budget model of network equipment designed to connect a personal computer to a telephone line. In addition, this unit supports multi-PC synchronous operation.

It is necessary
- - patch cord;
- - switch.
Instructions
Step 1
The main disadvantage of the described router model is the presence of only one LAN channel. If you need to connect multiple computers to the device, purchase a network hub. Select the switch with non-configurable ports.
Step 2
Connect the DSL port of the router to a telephone line using a splitter as an adapter. Now connect the patch cord supplied with the network equipment to the LAN channel.
Step 3
Connect the other end of the network cable to the desired switch port. Connect personal computers to the network hub. This also requires the use of network cables with straight crimp connectors.
Step 4
Connect the router and switch to AC power. Turn on both devices and computers. Select the PC from which the router will be configured. Start an Internet browser on this computer.
Step 5
Enter 192.168.1.1 in the url-field of the program and press the Enter key. In the authorization window that appears, enter the word admin in the available fields. Click the Login button.
Step 6
Open the WAN menu and configure the connection to the provider's server. To do this, select the data transfer protocol PPtP or PPPoE. Enter the data that was provided to you when concluding a contract for the provision of network access services. Don't forget to check the box next to DSL Auto connect.
Step 7
Activate the Enable Fullcone NAT function. Check the box next to Bridge Frames Between WAN and Local. Click the Next button. In the next menu, enter the IP address value for the router.
Step 8
Activate the Enable DHCP Server checkbox. In the Start IP Address field, enter 192.168.1.2, and in the End IP Address field, fill in the digits with the value 192.168.1.254. Click the Next button and save the settings. Reboot your router.
Step 9
In the settings of network adapters of computers, enable automatic obtaining of an IP address.


