- Author Lauren Nevill [email protected].
- Public 2024-01-11 01:04.
- Last modified 2025-01-23 15:15.
Creating a quiz for a website requires programming knowledge or money for the help of a programmer. However, there is an option that will allow you to create a quiz in just a couple of hours and save your budget.

It is necessary
Computer with browser, Internet access, email address or social media account for registration, 2-3 hours to create a quiz
Instructions
Step 1
Quizzes are polls and quizzes that are used on websites and social networks. Surely you have met them more than once and even passed them yourself. This new kind of entertainment content is being successfully applied in business.
The easiest way is to use free quiz builders, which will help you collect a quiz not only for the website, but also for social networks.
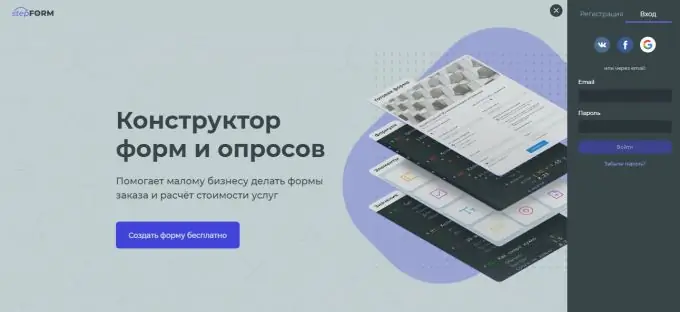
For self-creation of a quiz and further management, register in the stepFORM constructor.
Step 2
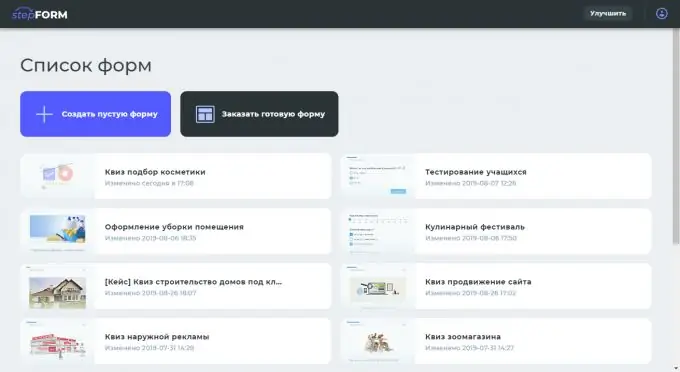
After registration, you will have access to your personal profile, which will contain a list of all created quizzes.
Step 3
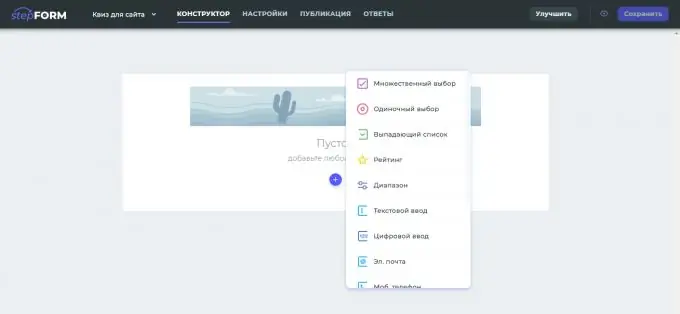
Start creating a quiz in a visual editor with 14 basic elements: drop-down list, single selection, multiple selection, range, rating, text input, digital input, mobile phone, email, date and time, formula, image, message, custom HTML.
Step 4
Quiz consists of separate pages, each of which contains elements.

Step 5
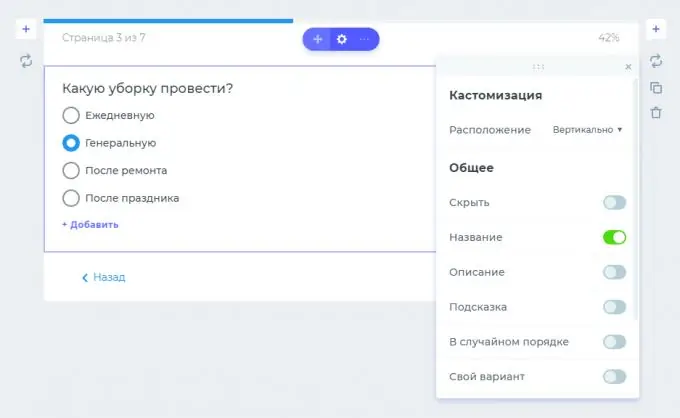
When you hover over any element, you will have access to settings where you can set indents, field names and descriptions, hide an element, make it mandatory, indicate a hint, duplicate an element, move to a new location, and much more.
Step 6
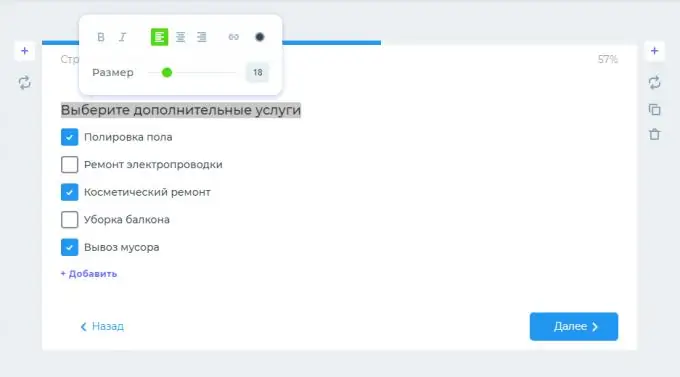
You can add absolutely any text, styling it at your own discretion, just by selecting it with the mouse.
Step 7
Add colorful images to your quiz to grab the attention of users.

Step 8
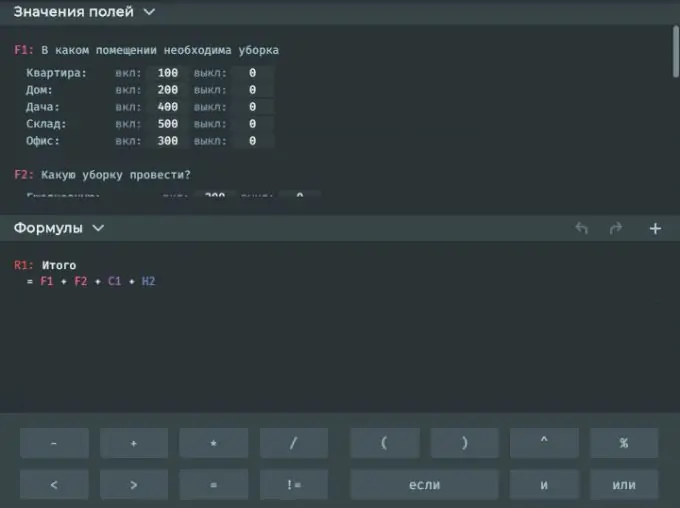
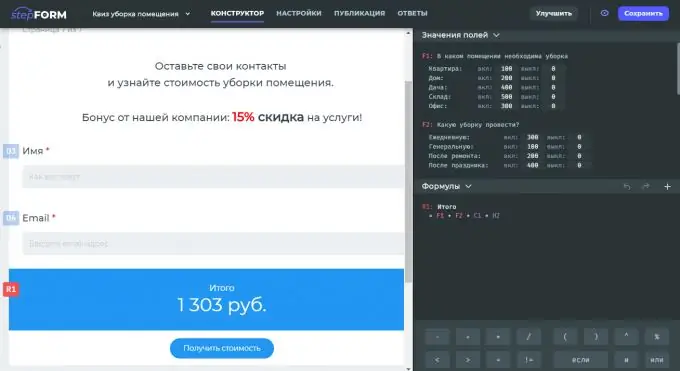
To use calculations, add a formula and adjust field values with other mathematical operations: subtraction, addition, multiplication, division, conditional expressions, logical operators, and other operations. With their help, you can display prices based on selected items, display discounted prices, compare multiple prices, and so on.
Step 9
Each element is given a unique letter that must be used in formulas to set numbers and other data entered by the user in the quiz.
Step 10
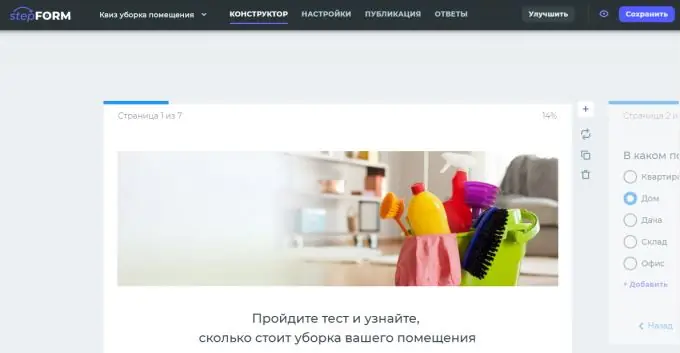
At the top of the designer there is a menu where you can go to the quiz settings, get the quiz code for publication, view the answers from the quiz in the internal CRM.
Step 11
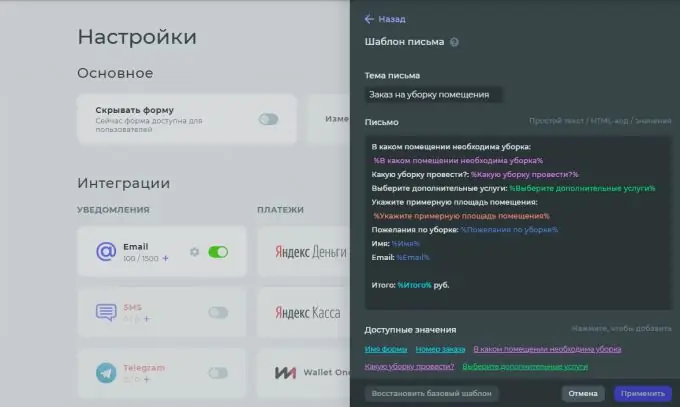
To accept replies to email and auto-reply to a client, go to settings, specify recipients and edit the email template.
Step 12
After all the changes, save the quiz and go to the publication section, where you can choose a convenient way to place the quiz: an embed code, a link for social networks, a pop-up window.


