- Author Lauren Nevill [email protected].
- Public 2023-12-16 18:48.
- Last modified 2025-01-23 15:15.
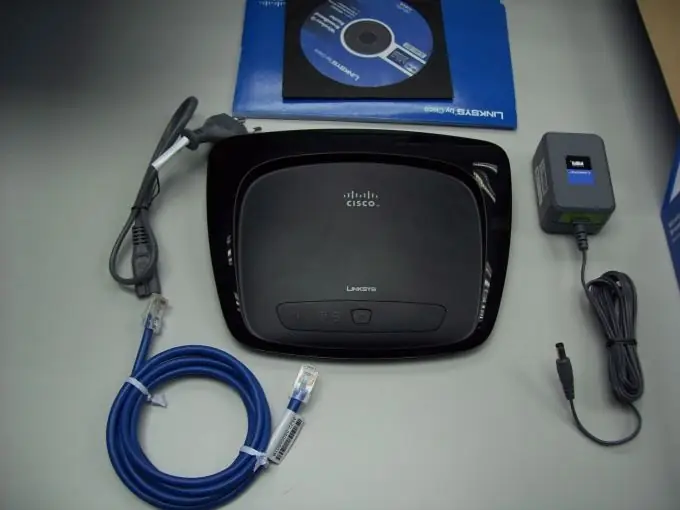
To create your own Wi-Fi hotspot with Internet access, it is recommended to use a Wi-Fi router. The difficulty is that you need to be able to choose the right equipment.

Necessary
Wi-Fi router
Instructions
Step 1
Examine the characteristics of the laptops that you plan to connect to the created network. Find out the parameters of their wireless adapters. Pay particular attention to the types of data and radio signal encryption.
Step 2
Purchase a Wi-Fi router and install it indoors. Connect the equipment to AC power and turn it on. Using a network cable, connect any laptop to the Ethernet (LAN) port of the device.
Step 3
Connect the Internet cable to the Internet (DSL, WAN) channel. Turn on your laptop and open a browser (it is better to use IE and compatible programs).
Step 4
Check the user manual for your Wi-Fi router. Find its original IP address. Enter this value into the address bar of the running browser to access the web-based interface of the device.
Step 5
Select the Internet Settings menu. Fill in the required items of this menu to provide a Wi-Fi router with access to the Internet. Save your changes.
Step 6
Navigate to the Wireless Settings menu. Enter the name (SSID) of the future network. Set a password to access it. Set the desired security and radio transmission types. Save your changes.
Step 7
Reboot the equipment by disconnecting it from the network for a while. Turn on the Wi-Fi router, connect to its web-based interface and make sure that the connection to the Internet is established.
Step 8
Disconnect the cable from the laptop. Open the list of available wireless networks, select the point you created and connect to it. If there is no Internet access, then open the settings of the network adapter and set a static IP address for it. Fill in the Preferred DNS Server and Default Gateway fields with the router's IP address.
Step 9
Make the same setting for the rest of the notebooks. Specify a new IP address for each device.


