- Author Lauren Nevill nevill@internetdaybook.com.
- Public 2023-12-16 18:48.
- Last modified 2025-01-23 15:15.
Each person has days when he can be congratulated: birthday, wedding day, etc. You can congratulate, both real and virtually. If you are registered in the My World project, send a greeting card to a friend or workmate by placing it in the guest book.

Necessary
Account on the site "My World"
Instructions
Step 1
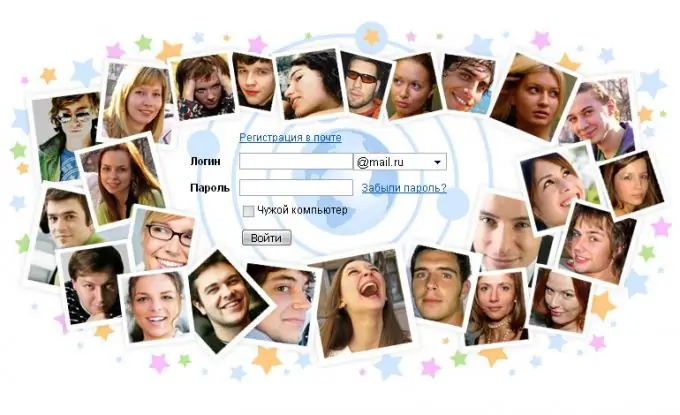
First of all, you need to be authenticated, i.e. go to the site using your username and password. To do this, follow the link https://my.mail.ru and on the page fill in the fields of the login form: enter your username, then select a domain from the list (mail, inbox, bk, list), specify a password and click the "Login" button.
Step 2
On the loaded page, go to the profile of the friend you want to congratulate. In the upper right corner, click the "My friends" link. Select a friend after navigating to a specific folder (everyone, best friends, blog friends). If you did not see it on this page, scroll to the bottom of the page and press number 2, etc.
Step 3
While in your friend's profile, go to his guestbook. Click the "Add record" link, in the expanded response form, write your congratulations and add a picture. You can add an image, for example a photo, or draw a picture yourself.
Step 4
To create your own picture, click the "Picture" link in the bottom line of the response form. An editor similar to MS Paint will appear in a new window. Here you can add pictures from the standard clip art, add a melody, write any words using beautiful fonts. Don't be afraid to create your own postcard as you can return any corrections a few steps back.
Step 5
To complete the creation of the postcard, click the "Insert" link. After a while, the drawing you have created will appear in the guest book. If you do not like it or you decide to upload a ready-made image, click the "Delete" link.
Step 6
Click the Add Post link again, then click the Photos link. There are 2 ways here: download an image from a computer or from the Internet. To download from a computer, check the box next to "Photo" and click the "Browse" button. In the window that opens, select an image and click the "Open" button.
Step 7
To download a photo from the Internet, just go to the page with the picture, right-click on the photo and select "Copy link to image" (the name may be different depending on the browser). Go to the window for adding a photo, check the box next to the item "From the Internet". Place the cursor in an empty field and press the shortcut keys Ctrl + V or Shift + Insert to paste the copied link.
Step 8
To place an image, click the "Upload" button, after a while the uploaded image will appear in the guest book. To enlarge it, click on the picture.


