- Author Lauren Nevill [email protected].
- Public 2023-12-16 18:48.
- Last modified 2025-01-23 15:15.
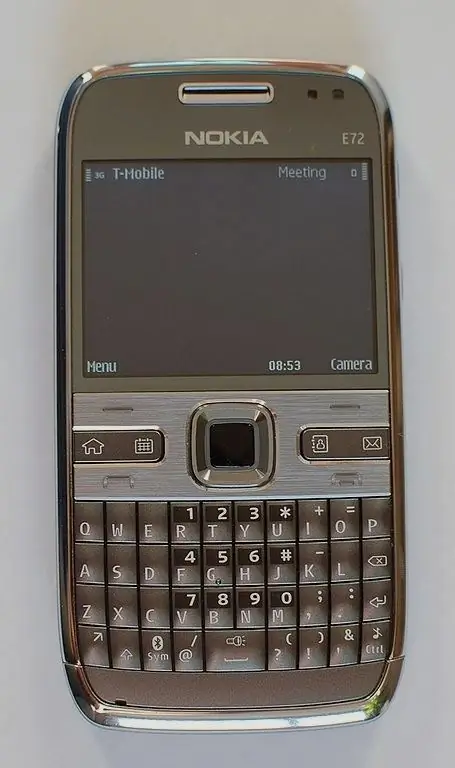
The Nokia E72 smartphone is equipped with an alphabetic keyboard, so it is better suited for surfing the Internet than for voice communication. For its successful connection to the global network, you must correctly configure the access point (APN).

Instructions
Step 1
The Nokia E72 smartphone has enough processing power for watching online videos, listening to Internet radio stations. To be able to fully use these functions, connect your operator to the service of unlimited Internet access. Then, while on your home network, instead of paying for each megabyte of data sent and received, you can pay an easy flat monthly fee. The operator will have the right to artificially reduce the speed of data exchange with a significant intensity of using the service, but this will not affect the subscription fee in any way. Remember that the unlimited access service will not affect the cost of the Internet in roaming.
Step 2
Open the menu item "Tools" - "Settings" - "Connections" - "Access points". Perhaps the phone's firmware, upon detecting the SIM card, automatically created three dots: “(Operator name) GPRS-Internet”, “(Operator name) GPRS-WAP” and “(Operator name) MMS”. Delete the point for WAP by pressing the crossed-out arrow key to the left on the alphabet keyboard (analogous to Backspace), and then confirming your choice by pressing the central button of the joystick.
Step 3
Select the access point "(Operator name) GPRS-Internet", then check if the APN field is filled in correctly. The line of text in this field must begin with the word internet (with a small letter), but never wap.
Step 4
If there are no automatically created access points, open the menu item specified in step 2, create a new point, then fill in the fields as follows: for MTS - APN internet.mts.ru, login mts, password mts, for Beeline - APN internet.beeline.ru, beeline login, beeline password, for Megafon - internet access point, gdata login, gdata password.
Step 5
Launch the built-in browser of your phone. To do this, while on the Symbian main screen, hold down the zero key until the program starts. Press the left key, select the "Options" - "General" menu item, and then check the contents of the "Access point" field. It should contain either the name of the point you created, or the word "internet".
Step 6
Unplug and plug your phone back on. Try to go online using the built-in browser. Also check if the applications are now able to go online. When trying to access the WAN from a Java application, the virtual machine will give you the option to manually select a point. Select the one named “(Operator Name) GPRS-Internet”. In Symbian applications, set the access point manually via the menu. The location of the corresponding item in it depends on the program.


