- Author Lauren Nevill nevill@internetdaybook.com.
- Public 2023-12-16 18:48.
- Last modified 2025-01-23 15:15.
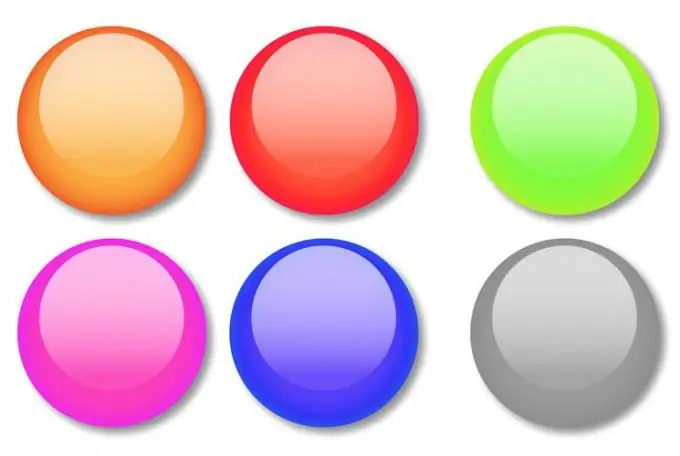
When developing the details of the graphic design of Internet pages, imitation of various materials is often used: stone, steel, wood. Glass is also popular in this regard. The glass surface effect is usually created by using a drop shadow and overlaying highlights with a simple or gradient fill. To simulate glass, you can use some of the styles available to Photoshop users.

Necessary
Photoshop program
Instructions
Step 1
You can simulate glass in Photoshop by manually rendering all the necessary shadows and highlights. In addition, you can quickly create the effect of a glass object by applying a predefined style to the shape. To make a glass button, create a new document with a transparent background. Select RGB as the color mode.
Step 2
Glass buttons are usually rounded. Select the Rounded Rectangle Tool or the Ellipse Tool to create the base of the button. Turn on the Fill Pixels mode by clicking on the corresponding button in the tool settings panel.
Step 3
Draw a flat base for the button. To do this, hold down the left mouse button and drag the resulting shape. If you need to make a round or square button, hold down the Shift key while drawing.
Step 4
Open the Styles palette with the Styles option from the Window menu. The styles you need are not loaded into the default palette, but you can open them by clicking on the triangle-shaped button in the upper right corner of the palette. In the menu that opens, select the Web Styles item, and in the dialog box that appears before loading the styles, click the Append button. This will allow you to keep the styles already loaded in the palette, adding new ones to them.
Step 5
Apply a Red Gel, Yellow Gel or Green Gel style to the button base layer. To do this, click on the style icon.
Step 6
Write on the button. To do this, click on the Horizontal Type Tool, click on any area of the document and enter the text. Click on the Move Tool and move the caption to the button.
Step 7
If you want the label to be below the glass surface, drag the label layer under the button layer. To get the text slightly pressed into the glass surface, click on the layer with the caption and select Blending Options from the context menu. On the Bevel and Emboss tab, select the Pillow Emboss style from the Style drop-down list. In the Technique list, you need the Chisel Soft item. Set the Depth parameter to about three hundred percent, and set the Size to one pixel. You can leave the rest of the settings as default.
Step 8
The color of the resulting button can be changed. To do this, open the Color Overlay tab in the Blending Options window and change the color by clicking on the colored rectangle. Uncheck the Outer Glow checkbox or open this tab and change the color of the outer glow of the button to a more appropriate one.
Step 9
Save the button as a file with layers in psd format using the Save command from the File menu.


