- Author Lauren Nevill [email protected].
- Public 2023-12-16 18:48.
- Last modified 2025-01-23 15:15.
Social networks have become an essential part of the life of a modern person. Most of us spend most of our time in them. Groups or communities are the cells of social networks. Let's consider how to create your own group in the largest social network - Facebook.

Instructions
Step 1
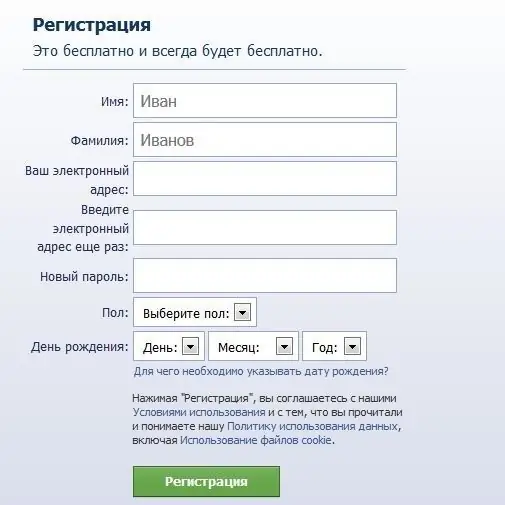
First you need an account on Facebook itself. You can register using the same link that you use to enter the site (form on the right) -
Step 2
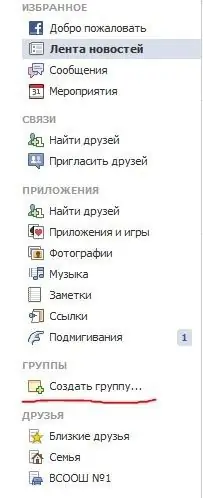
After registering and filling out the questionnaire, click on the "Create a group" button on your profile page.
Step 3
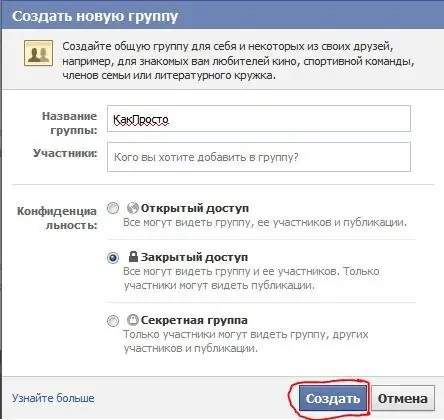
Fill out the form that appears: enter the name of your group, select the first members and configure access to your new group. Click the Create button.
Step 4
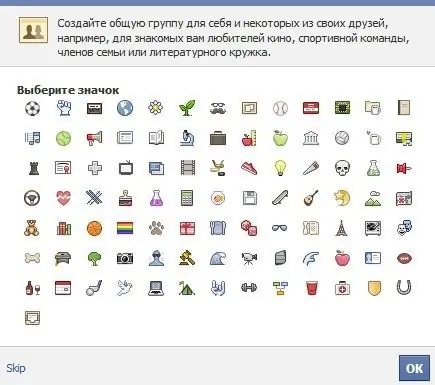
From the offered icons, choose one that is more suitable for your group and click the "OK" button.
Step 5
The group has been created. The new group will now be listed in your Groups column. After creation, the main page of the group will open, in which the functionality of filling the group with content is located: write a message, upload a file, post a photo or video, ask a question.

Step 6
Let's set up a new group. Go to the Information tab and click on the Add Description text. After adding the description, click "Save".
Step 7
In the "Events" tab, you can create events for group members: meetings, gatherings, celebrations.
Step 8
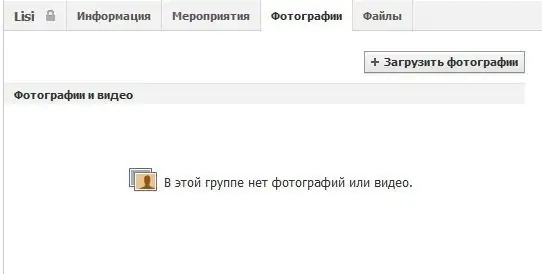
All photos and files that have been uploaded to the group are displayed in the "Photos" and "Files" tabs.
Step 9
Behind the tabs are other group settings. The "Notifications" column regulates the display of notifications about events in the group (enabling / disabling, setting the categories of notifications, the type of notifications).

Step 10
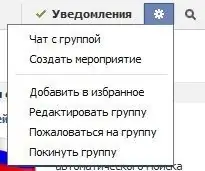
The gear to the right of notifications is responsible for general community settings. By clicking on it, you can create an event, organize a chat with a group, add the group to your favorites and edit. Also in this panel you can complain about someone else's group or leave it.
Step 11
To the right of the gear, there is a magnifying glass icon - search by group.
Step 12
Below the above icons is a form for finding new people in your group. Enter your email address and password from it. The social network will find people on Facebook, focusing on the contacts in your mail.


