- Author Lauren Nevill nevill@internetdaybook.com.
- Public 2023-12-16 18:48.
- Last modified 2025-01-23 15:15.
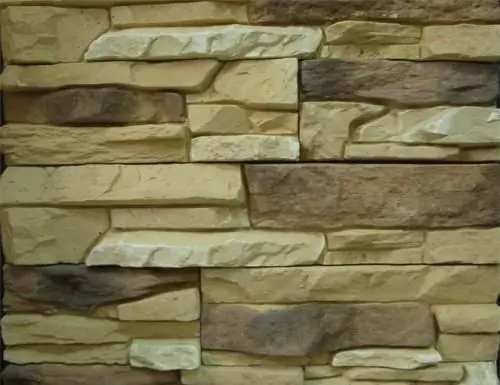
Decorative stone is well suited for cladding metal, concrete, wood and brick surfaces. It can be installed seamlessly or with jointing. And the work must be carried out at a temperature of at least 5 degrees Celsius.

Necessary
- - decorative rock;
- - grinder with a stone disc;
- - abrasive tape;
- - paint brush;
- - water;
- - bucket;
- - putty knife;
- - glue solution;
- - hacksaw;
- - cement mortar;
- - bag for joining seams;
- - plastic panicle;
- - hydrophobic composition.
Instructions
Step 1
Before starting work, remove the stone from several boxes and mix together. Lay out the future masonry drawing on the plane. For a more natural look, alternate elements of different color, thickness, and texture. If there is a need to fit the stones in size, use a grinder with a stone disc. In the event that a foamy cement layer is present on the back surface of the facing material, remove it with an abrasive tape or a stiff metal brush.
Step 2
Moisten the work surface with a wet paint brush or spray. Stone tiles can be dipped in a bucket of water, and after wetting, let the moisture soak in for a few minutes.
Step 3
Start styling from top to bottom from either corner. This will help prevent glue from spilling onto already installed areas. Using a smooth spatula, apply an adhesive solution no more than 0.5 centimeters thick to the facing surface, level it. Apply the same layer to the stone tile, press the stone against the wall and press in with a twisting motion. If you have purchased special corner pieces, start with them. Alternate the long and short sides of the corners. For best fitting results, use a hacksaw or circular saw to cut the tiles. If you chose the jointing method, observe the distance between the tiles. Remove excess glue immediately after installation, leaving only a thin layer at the edges of the ends.
Step 4
For jointing, use a special bag filled with masonry mortar. Fill the seams gently by squeezing the mortar through the hole in the bag. Then remove the excess solution with a plastic duster.
Step 5
Finish the work by treating the masonry with a special water-repellent, hydrophobic compound that protects from solar radiation and temperature changes. The treated surface will be much easier to clean and will acquire richer color shades.


