- Author Lauren Nevill nevill@internetdaybook.com.
- Public 2023-12-16 18:48.
- Last modified 2025-01-23 15:15.
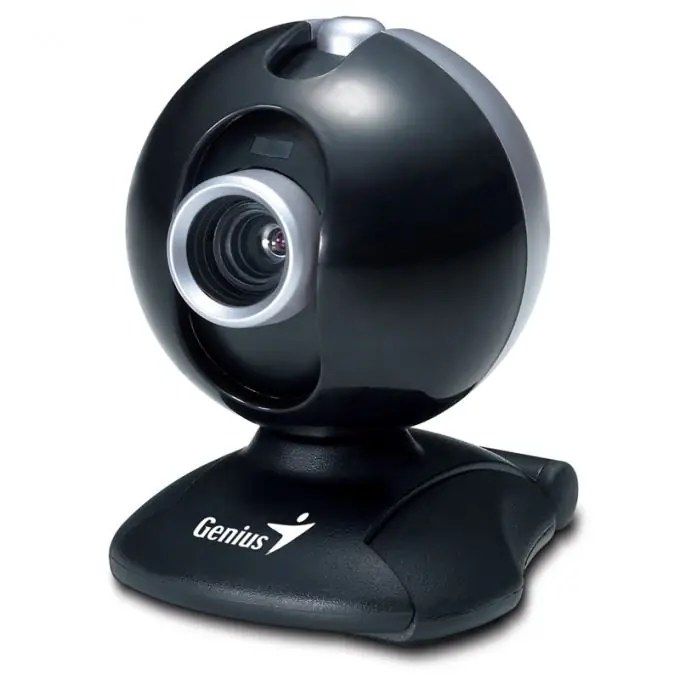
By connecting a webcam to your computer, you can chat with your friends online, seeing each other on your monitors. It is worth noting that connecting the device itself will not take much of your time - installing and configuring the camera takes only a few minutes.

It is necessary
Computer, webcam, webcam driver
Instructions
Step 1
Before connecting your webcam to your computer, you need to install special software on your PC. If you do not do this right away, the system simply does not recognize the connected device and, as a result, the camera will not work. The required software (drivers) can be found in the package with the product.
Step 2
Insert the webcam driver disc into your computer's disc drive and wait for it to load automatically. A dialog box for installing the software will open on the desktop. In order for the device to work correctly in the future, do not change the parameters that are set by the installer by default. In the dialog box, accept the terms of the license agreement, and then click the "Install" button. Once the software is installed on your computer, restart it. To do this, open the Start menu and click the Shutdown button (Windows XP). In the window that opens, click the "Restart" button.
Step 3
After waiting for the computer to turn on again, you can start connecting the webcam to it. In most cases, such devices are connected to a PC via USB. After you connect the device to the computer, launch the previously installed webcam client. If you want to disconnect the device, just exit the program. If you need a video call, you need to restart the program.


