- Author Lauren Nevill nevill@internetdaybook.com.
- Public 2023-12-16 18:48.
- Last modified 2025-01-23 15:15.
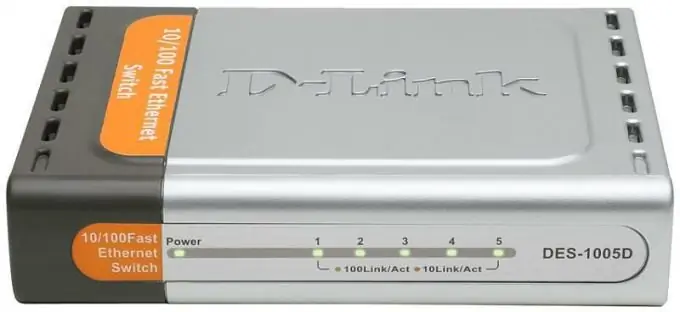
D-link company is one of the most popular manufacturers of network equipment. Including ADSL modems, which are used to connect to the Internet. Most companies that provide Internet connection services for home users configure the connection themselves. But sometimes it becomes necessary to do it yourself, for example, if you decide to replace an old modem.

Instructions
Step 1
Connect the device to your computer and to an electrical outlet. A network cable is included with the modem. Plug it into the modem with one end and the other into the network port on your computer. Their shape excludes the possibility of error. Both ends of the cable are equivalent, that is, it makes no difference which connector is connected to the modem and which to the computer. Remove the power adapter from the package, connect it to the modem and to the power outlet. Press the On button on the back of your d-link modem. The network and connection indicators on the front will light up.
Step 2
Launch any Internet browser and enter the following numbers in the address bar: 192.168.1.1 is the standard network address of the modem. Press the Enter key and you will see a window asking for a username and password. By default, this word is admin. Enter it in the Username and Password box, and then click OK. The browser will display a page with which you can configure the Internet via the d-link modem.
Step 3
Find your username, password, and network settings - VPI and VCI in the documents provided by your service provider. These are signal modulation parameters, without them it will not be possible to connect to the Internet even with the correct username and password.
Step 4
Click the button labeled WAN on the modem configuration page. It's in the column to the left. In the central part of the screen, find the Add button and activate it. The connection settings page will open. Enter the information from your provider documents in the VCI and VPI fields. Click the Next button at the bottom of the screen.
Step 5
Place a dot at PPP over Ethernet (PPPoE) on the next setup page. In the lower half of the screen, select LLC / SNAP-BRIGING from the drop-down list and click Next to proceed to the next step.
Step 6
Enter your username and password in the PPP username and PPP password fields. Check the Keep Alive checkbox in the center of the page and click the NEXT button at the bottom.
Step 7
Check the boxes next to Enable NAT and Enable Firewall, as well as Enable WAN Service. Click Next and go to the Connection Summary page. Click the Apply button and wait a few minutes. The modem will reboot using the new parameters.
Step 8
Open the modem settings page in the browser - 192.168.1.1, enter the login and password "admin". Click on the Device info section on the left side of the page. The connection details screen will appear. If all lines are occupied with network addresses, then you were able to successfully configure the Internet via the d-link modem. Otherwise, repeat the setup procedure, carefully checking the entered data.


