- Author Lauren Nevill [email protected].
- Public 2024-01-11 01:04.
- Last modified 2025-01-23 15:15.
It is difficult to imagine communication on social networks without photos, so any new user begins his virtual life by adding photos to his page. Photos not only help to diversify your profile, but can also be a means of self-expression and attraction of new acquaintances.

Instructions
Step 1
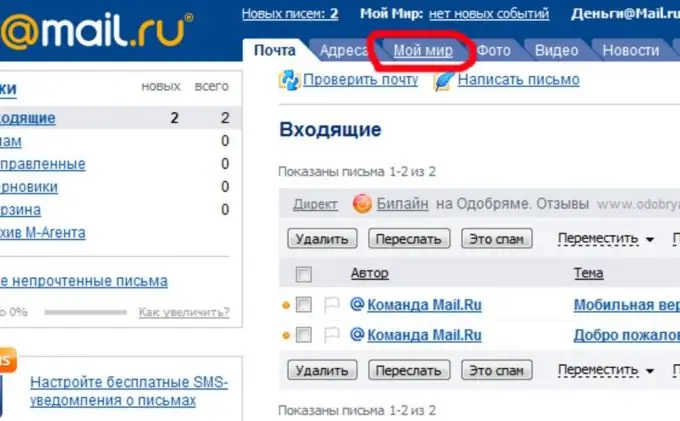
To upload a photo to your page on the social network MY [email protected], enter your mail.ru mailbox and go to the "My World" tab.

Step 2
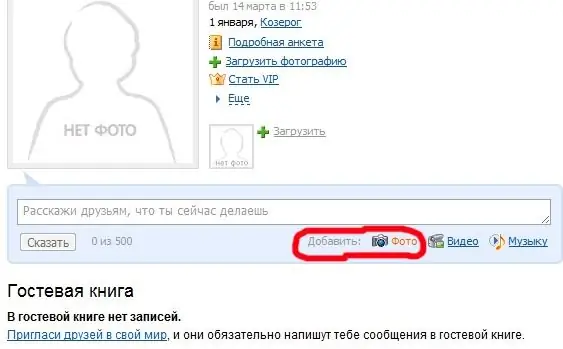
Once on your page, click on the "Add photo" button.

Step 3
You will be prompted to select an album to place your photos. You can upload a photo both to the already existing default album "Photos with me", and to a new one, which can be created by selecting "New album".

Step 4
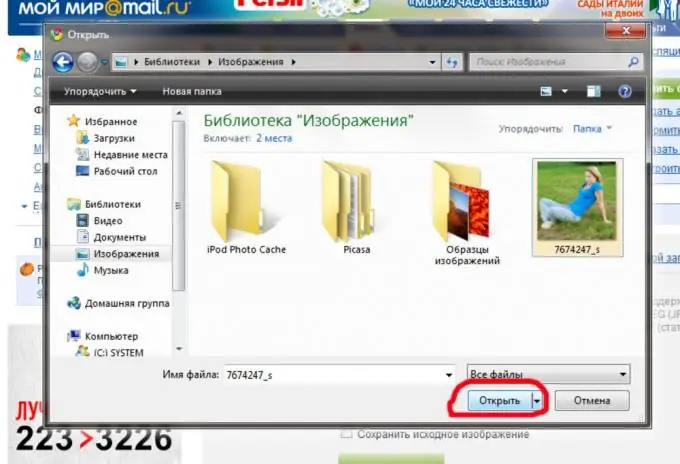
To upload a photo to the selected album, click the "Select file" button. A window will appear in which you will need to find the photo on your computer, and then click the "Open" button. Please note that MY [email protected] accepts photos for publication only in JPG, PNG, BMP, TIFF,

Step 5
After the name of the photo is added to the "Select file" button, click "Upload" that your photo has been sent to the server.

Step 6
Once the photo is added to your profile, you can enter its name, select shortcuts, and assign a category to the photo. To complete the process of adding a photo, click the "Save" button.


