- Author Lauren Nevill nevill@internetdaybook.com.
- Public 2023-12-16 18:48.
- Last modified 2025-01-23 15:15.
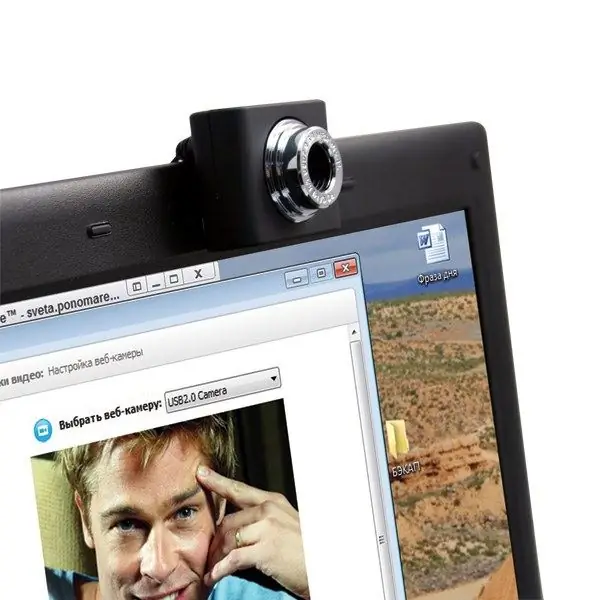
Video messaging is the most interesting and promising direction in the field of modern communications. An integrated camera is a good feature for a PC or laptop, but under this condition, the capabilities of integrated solutions do not always meet the needs of the user. An excellent solution is to install a webcam, even without Internet access.

Necessary
PC / laptop, webcam, installation CD-ROM
Instructions
Step 1
Run the installation CD-ROM into the appropriate drive of your PC / laptop.
Step 2
After a couple of seconds, the Language selection window appears. Choose language. The installation continues automatically.
Step 3
The Welcome screen appears. Click Next to continue.
Step 4
Select the first option to read the user manual before proceeding with the installation, or print it out so you have it handy when you continue with the installation process. After reading or printing the user manual, proceed with the installation by selecting the second option. Click Next to continue.
Step 5
The Installation window appears. The components that can be installed are displayed on the left side of the screen. An explanation of each of them is given on the right side. All components are already selected for installation. Click the Next button if you agree to install everyone. If you want to install only a few, select the checkboxes in front of the required ones.
Step 6
The following software licensing agreement appears. Click Yes to proceed with the installation.
Step 7
Select user manual. Click Next to continue.
Step 8
Select Yes to restart your PC / laptop, then click Finish. You then have access to all webcam related software.
Step 9
Now you can connect your webcam. After restarting your PC / laptop, plug the USB connector of the USB cable into the USB port of your PC / laptop. From now on, the webcam will be powered by the PC / laptop.
Step 10
Aim the camera in the desired direction. Insert the USB cable into the cable fixing slot. Use the holder with two rubber stops to mount the webcam on your PC monitor or laptop screen. The PC / laptop will report that new hardware has been found.


