- Author Lauren Nevill [email protected].
- Public 2023-12-16 18:48.
- Last modified 2025-01-23 15:15.
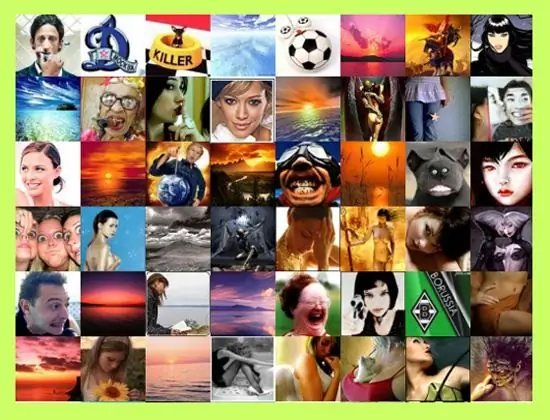
In Hinduism, an avatar is the image of a god in which he descended into the lower spheres. Someone cleverly came up with the use of this term to refer to a small graphic image that should characterize the Internet user and display his inner world.

Instructions
Step 1
Before you start looking for an avatar, decide what kind of image you want to create: anime fan, brutal macho, princess, pink ottoman, etc. Consider whether it will be appropriate for the online community in which you want to participate.
Step 2
Keep in mind that different resources impose restrictions on participant avatars by subject matter and size. Thematic restrictions are caused by ethical considerations: not all resources will sympathize with an avatar with a swastika or a massacre. The size limitations are caused by quite reasonable considerations: the page will load for a very long time and "eat" a lot of traffic if the participants decorate it with megabyte pictures in full screen.
Step 3
You can find a ready-made avatar on the Internet at numerous specialized sites. Avatars are sorted by topic for the convenience of visitors. Go to the site, choose a suitable theme and avatar that will match your image of yourself.
Step 4
Often they put their own photo as an avatar, of course, pre-processed with the help of some graphic editor. Launch Adobe Photoshop, select File, Open from the main menu, then locate the list in the address bar and select the logical drive and folder in which the photo is located. Double click on the image.
Step 5
Use the Healing Brush Tool ("Healing Brush") to process the image, removing pimples and skin imperfections. If you want to distort a photo for a comic effect, choose Filter and Liquify from the main menu. Activate the Forward Warp Tool (it looks like a finger), set the brush size on the property bar on the right side of the window and change your appearance in accordance with the intention. Click OK to save your changes.
Step 6
Select Image and Image Size from the main menu. Set the width and height of the photo to approximately 100x100 pixels - the standard size for an auto park. Instead of your own photo, you can take a picture of your favorite animal, car or landscape and process it in the same way.


