- Author Lauren Nevill [email protected].
- Public 2023-12-16 18:48.
- Last modified 2025-01-23 15:15.
You don't need to be an advanced graphic designer to make a beautiful frame for a photo stored electronically (in a file). Moreover, if you have Internet access, you do not need to be able to use an image editing program, you may not even have it on your computer at all. It is enough just to know the addresses of the location of the necessary services on the network.

Instructions
Step 1
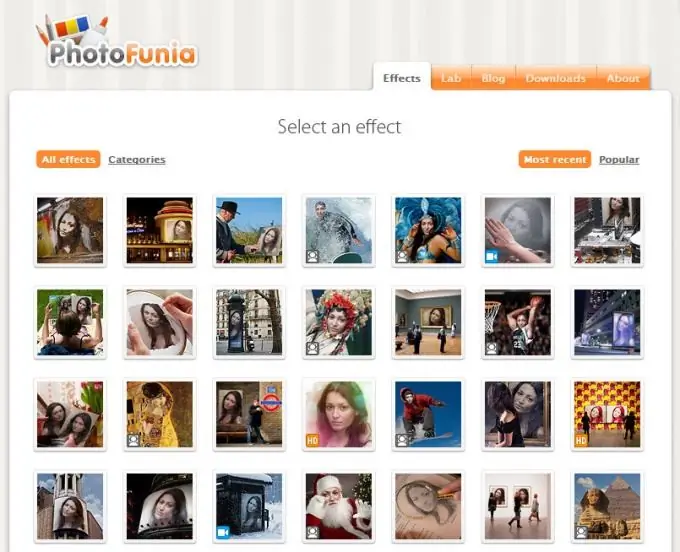
There are already a lot of web resources on the Internet that provide free online editing services for your images, it's just a matter of choice. Different sites offer different sets of options for designing your photos. The procedure itself also happens in different ways. One of the easiest to use services of this kind is PhotoFunia. On this site there is an opportunity to pick up very interesting options for the design of photos, most of which cannot even be called just frames. You can select entire scenes (including animated ones) in which your photo will be included. If you decide to use this service, then by clicking on the link, select and click the option you like the most to design your photo. For example, if you select the Bilbord Workers option, then after clicking such a page will appear with a button for choosing a photo
Step 2
Click the Choose File button and the following form will open with a Browse button. It launches a standard Windows dialog, in which you need to find a file with a photo and open it.
Step 3
The photo will be uploaded to the website of the service, analyzed and after a few seconds you will be presented with the option of cropping the photo - this operation is needed so that the photo fits into the design option you have chosen. Click the OK button.
Step 4
The browser will return you to the previous window, but now the photo will be loaded into it and the Go button will appear - click it to start the process of integrating your photo into the frame.
Step 5
After a couple of seconds, the result of the service will be presented to you on a new page. Three buttons will be placed under the image - to save the image you need to click the left one (Save). A window will pop up with links to two options for saved images of different sizes. The bottom one (Userpic) is used to create avatars or preview pictures. You can save both options, this window with links will remain open until you click the Close link and this completes the procedure for inserting your photo into the frame using the PhotoFunia service.


