- Author Lauren Nevill [email protected].
- Public 2024-01-11 01:05.
- Last modified 2025-01-23 15:15.
The functioning of most modern sites is associated with the use of several technologies, such as database management systems, interpreted or partially compiled programming languages such as PHP, graphics libraries. All of these technologies are shared under the control of a web server. Before transferring to hosting, any site requires debugging and testing. Therefore, it makes sense to install a web server on a local computer to test sites before putting them into operation.

It is necessary
Modern browser. Access to the Internet. Administrator rights on the local machine
Instructions
Step 1
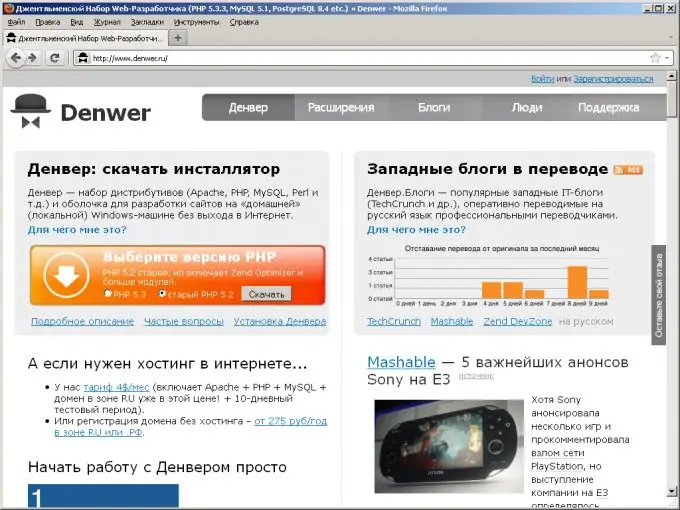
Download the Denwer distribution. Open the address in the browser https://www.denwer.ru. Click on the button labeled "Download Denver". Select the PHP version to be included in the download package. Click the Download button. On the page that opens, enter your name and email address, click the "Get download link" button. Check the mailbox you just entered. It will receive a letter with a link to download the distribution kit. Click on the link. The file download process will begin. Save the file to your hard drive

Step 2
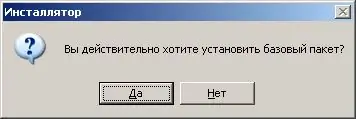
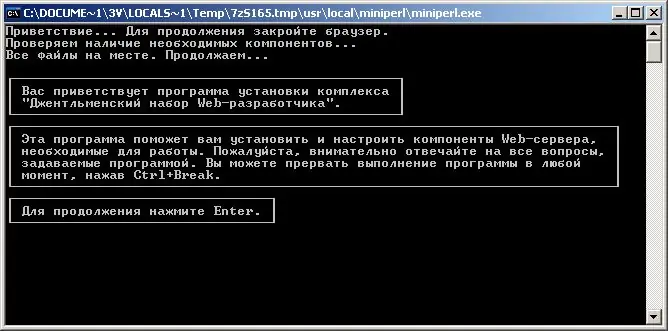
Begin the web server installation. Run the downloaded Denwer installer. In the window that appears asking for the installation, click the "Yes" button. The unpacking of the distribution files will begin. Wait for the unpacking process to finish. Next, the console installation program will automatically start.

Step 3
Install Denwer. Press the Enter key. Enter the path to the directory where the installation will be performed. Hit Enter. Enter "y". Press Enter two times. Select the letter of the virtual disk to which the contents of the folder with the virtual host directories, usr and bin directories will be mapped. Enter the appropriate letter in the installation program window. Press Enter two times. Wait until the files are copied. Select the option to create a virtual disk (when the operating system boots or when the servers are started). Specify whether to create shortcuts for starting and stopping servers on the desktop. Hit Enter. The installation program window will close. A browser window will open with brief instructions on starting the server and solving technical problems. Check them out. Close your browser.

Step 4
Check the functionality of the installed web server. Start the server using the shortcut on the desktop, or the Run.exe file located in the denwer directory of the installation directory. Open the address in the browser https:// localhost, or address https://127.0.0.1. If the browser displays a page with a message about successful installation, the web server is installed correctly


