- Author Lauren Nevill nevill@internetdaybook.com.
- Public 2024-01-11 01:05.
- Last modified 2025-01-23 15:15.
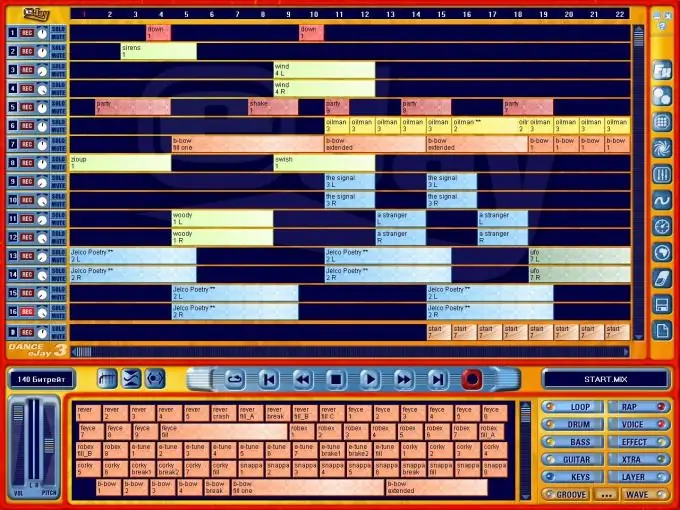
Once I needed to make a virtual image of a CD-disk - so as not to use it every time, because it deteriorates from this, and the Dance-3 E-Jay program does not work without a disk. However, there were a lot of tips on the Internet, but for those who seemed to know everything anyway. As a result, a friend showed me how to make and install an image. Nowadays, few people use discs, but sometimes it is simply necessary.
Instructions
Step 1
We enter the "Wikipedia optical disc emulator" into the search engine and find a list of tested devices with links to official sites. Choose Ultra ISO as it is one of the best emulators out there.
Step 2
We get a link to the official site.
Step 3
Download the trial version.
Step 4
We choose the Russian version. The rest of the programs are not particularly friendly with this.
Step 5
We open and select a trial period.

Step 6
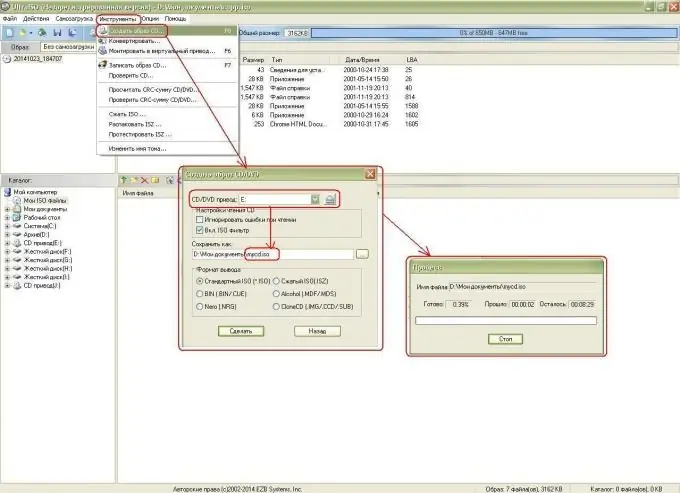
Now you need to load the disc into the drive and create the CD image. To do this, select in the drop-down menu "Tools-Create CD Image" and select the CD-drive in which the disc is located (in this case, E). By default, the image file is named mycd.iso, but you can rename it to avoid confusion in E-Jay.iso. The path is also indicated there: "drive D - My Documents".
Step 7
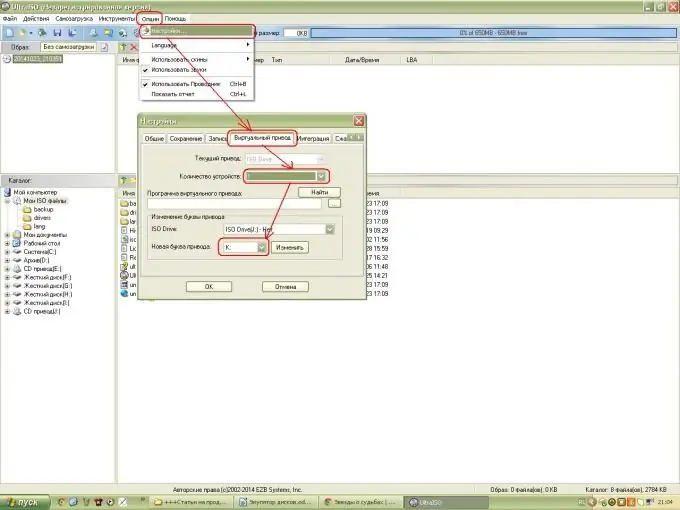
When the process is over, do not forget to remove the disc. Let's start creating virtual drives, where we will mount the disk image. To do this, select the "Options-Settings" drop-down menu, go to the "Virtual Drive" tab, select the number of virtual drives (I have this 1-virtual CD-drive J, I change it to 2-J and K).
Step 8
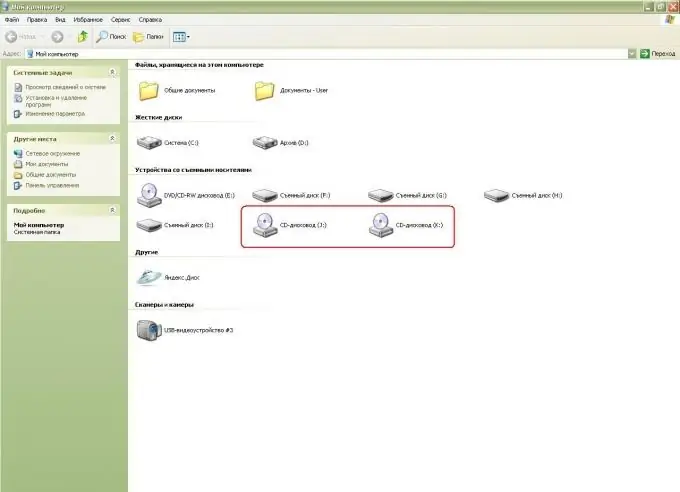
We go to "My Computer" and check. Indeed, 2 virtual CD drives appeared.
Step 9
Then we mount a virtual disk image into one of these drives.
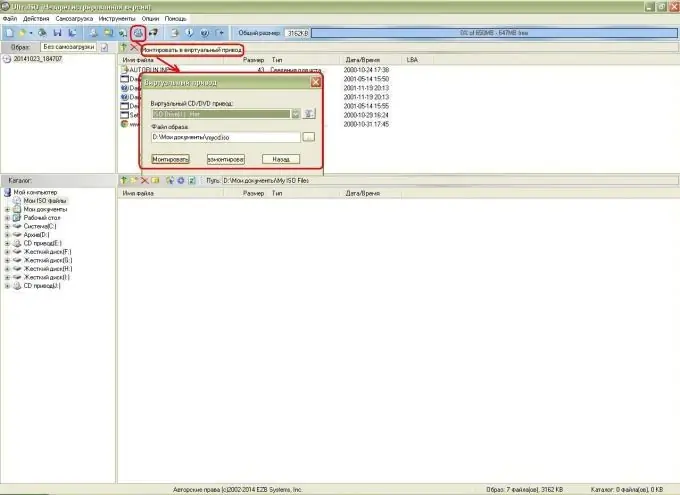
Step 10
Go to "My Computer" and see that the disk image is mounted: the name says Dance_E-Jay3. Click and run the dance music maker!


